Types of designs
We have three choices for design, standard custom, and DIY.
You may find our article on PDF designs for the Shopify app useful.
Standard
The standard template is the easiest to get started with. You may upload a logo, and the rest is taken care of.
Within standard, there are two ways to display the ticket:
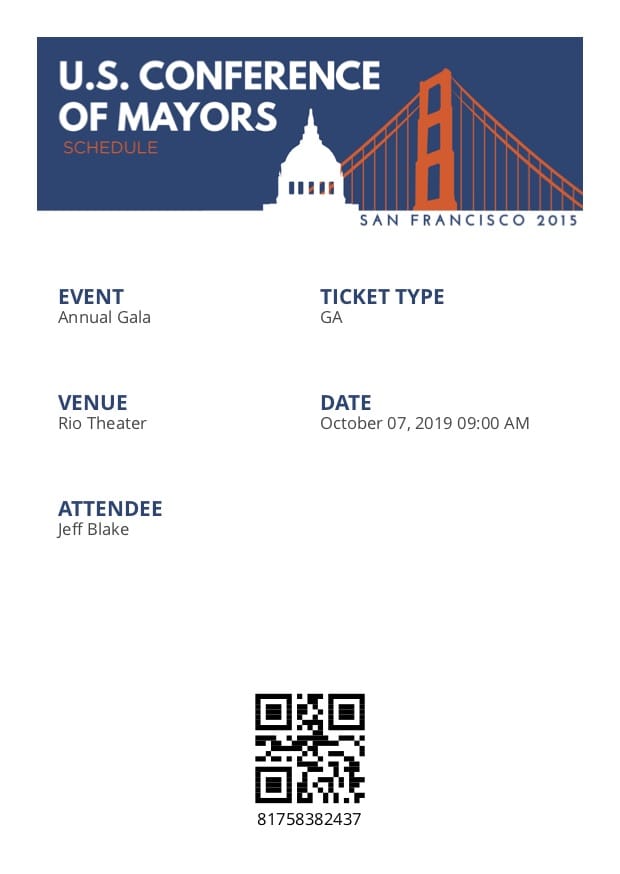
Simple mobile friendly format
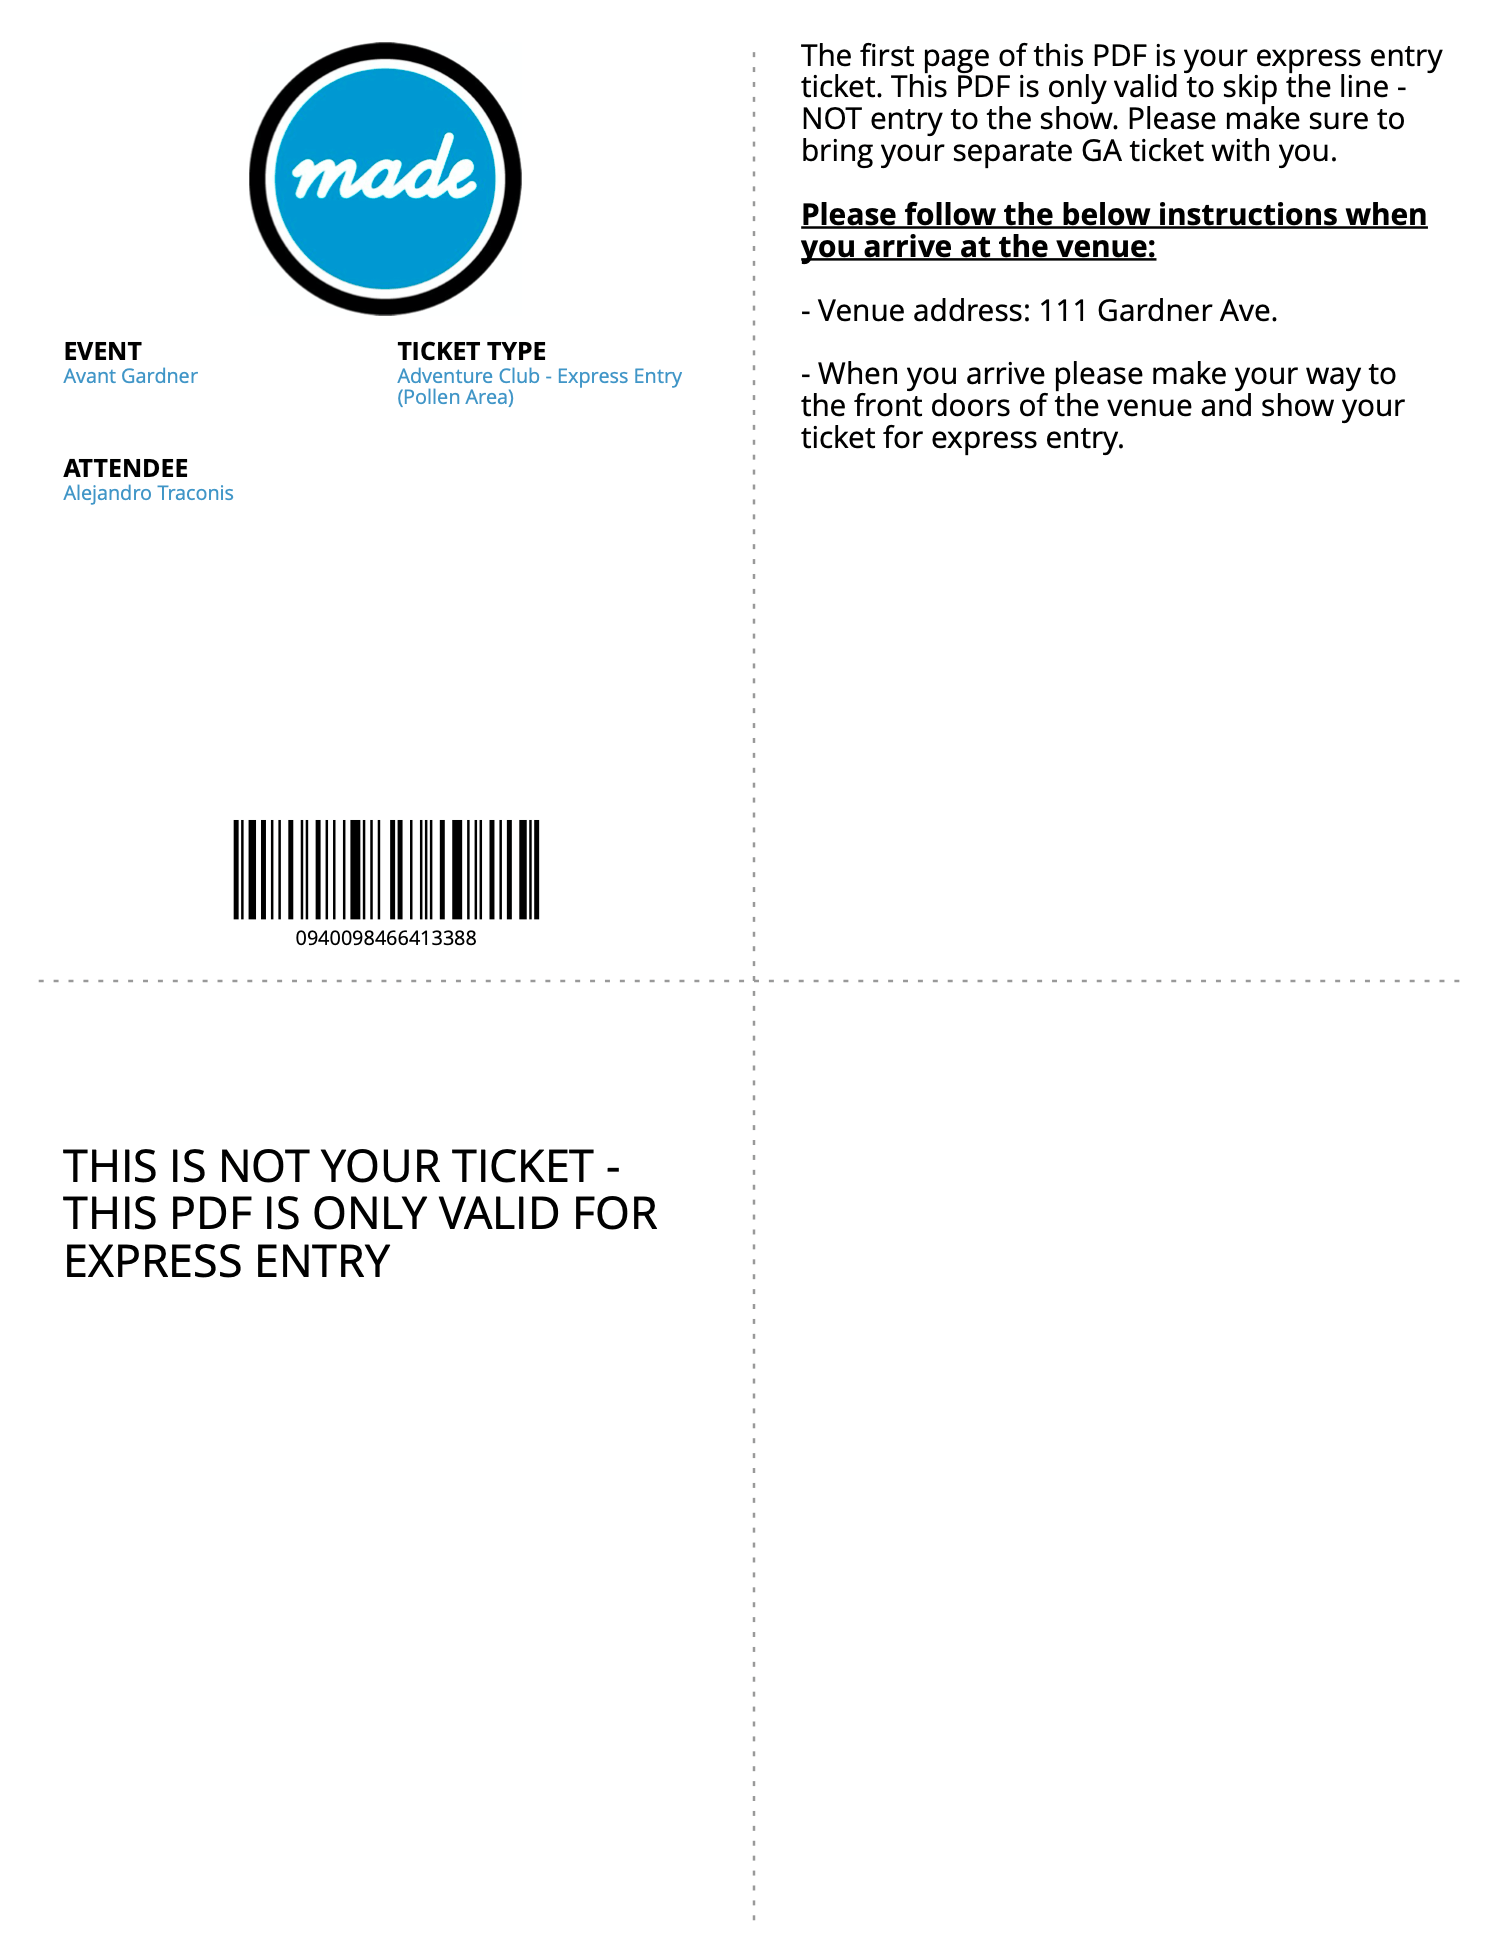
Full page ticket
Pictured below. 4 quadrants, and you can add custom content into each.
Custom
The custom template option gives you maximum control over the PDF. Your designer will use the template below to create a custom design. Your designer will simply design around the grey box. Do not put any design in the grey box.
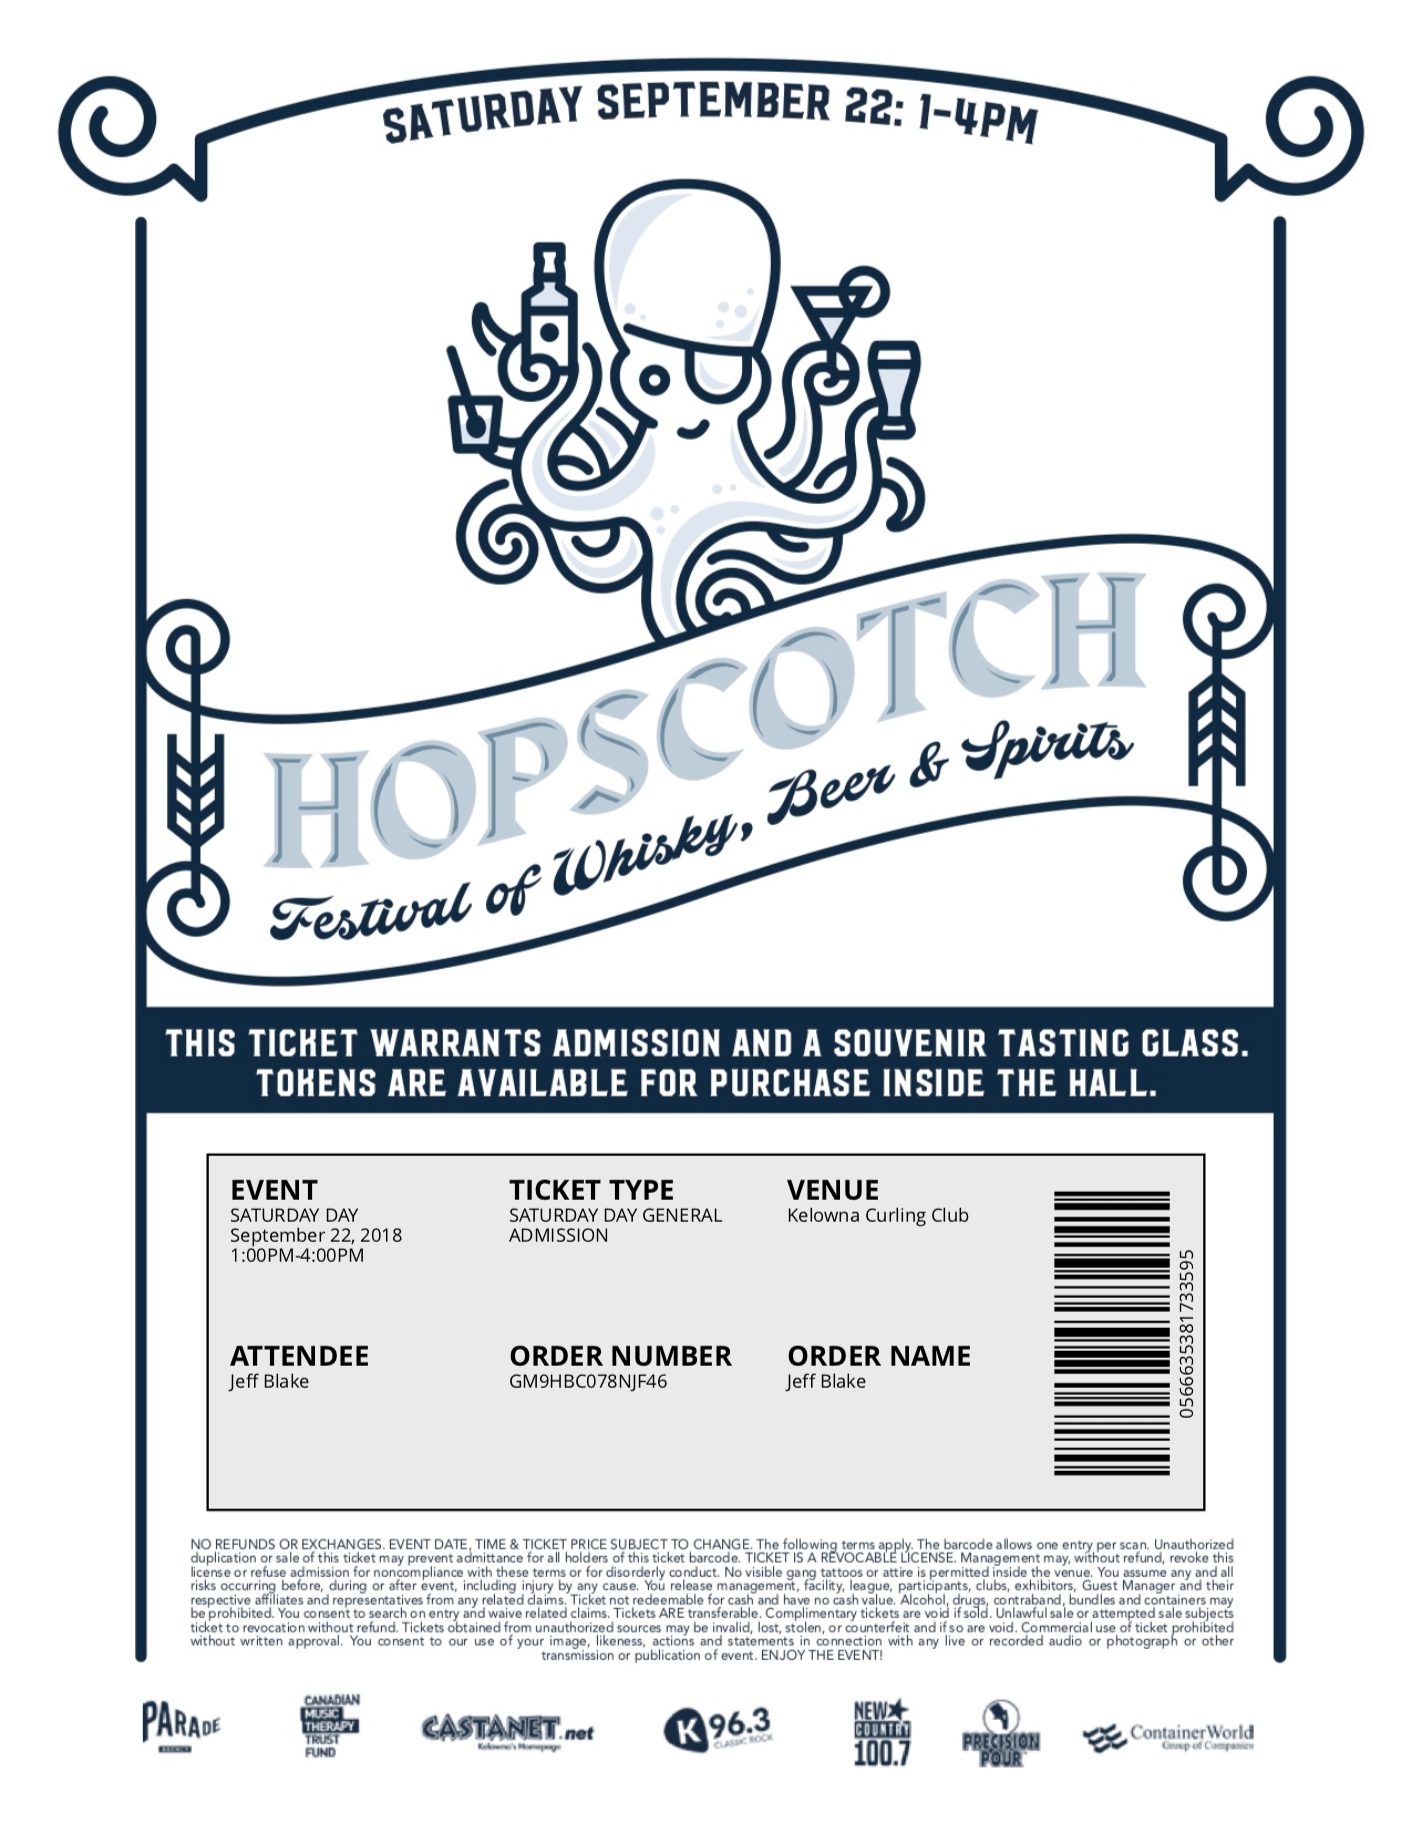
Download the template: https://gm-app-assets.s3.us-west-1.amazonaws.com/Guest-Manager-Custom-Ticket-Template.jpg Sample client ticket: https://gm-app-assets.s3.us-west-1.amazonaws.com/pdf-custom-sample-pdf.pdf
Please upload your finished design according to these specs: Image format: JPG Image size: 1275x1650 pixels
DIY
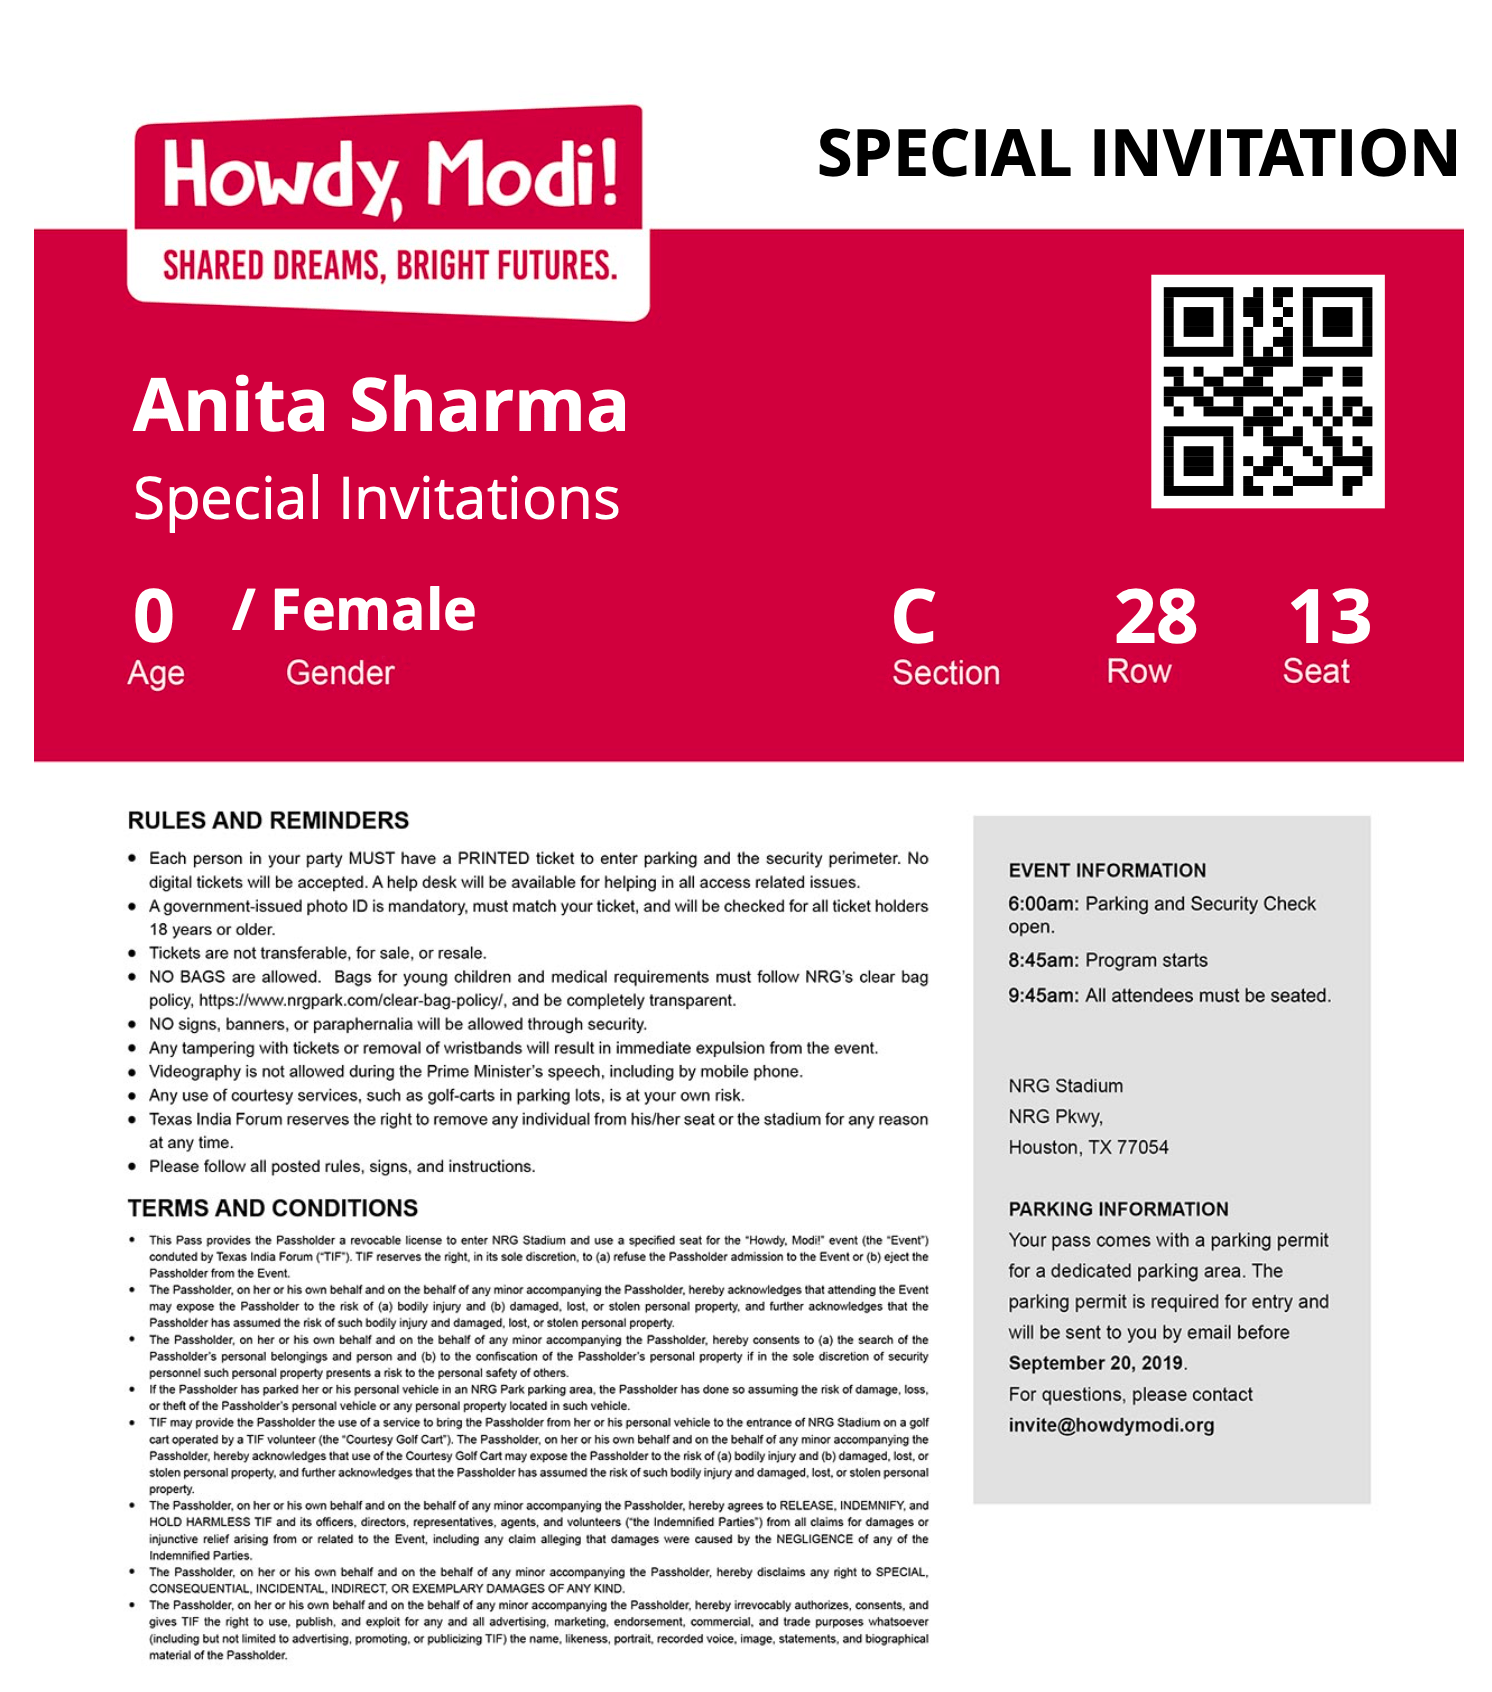
In beta, this option gives you the most control. You can layout each element separately, e.g. a barcode in the upper right, the attendee name in the midde, etc. We are working on a visual editor, but for now you need to create this template by specifying coordinates manually. You can give this design a try via Settings > All settings > Ticket designs > Add > DIY template
Create a design
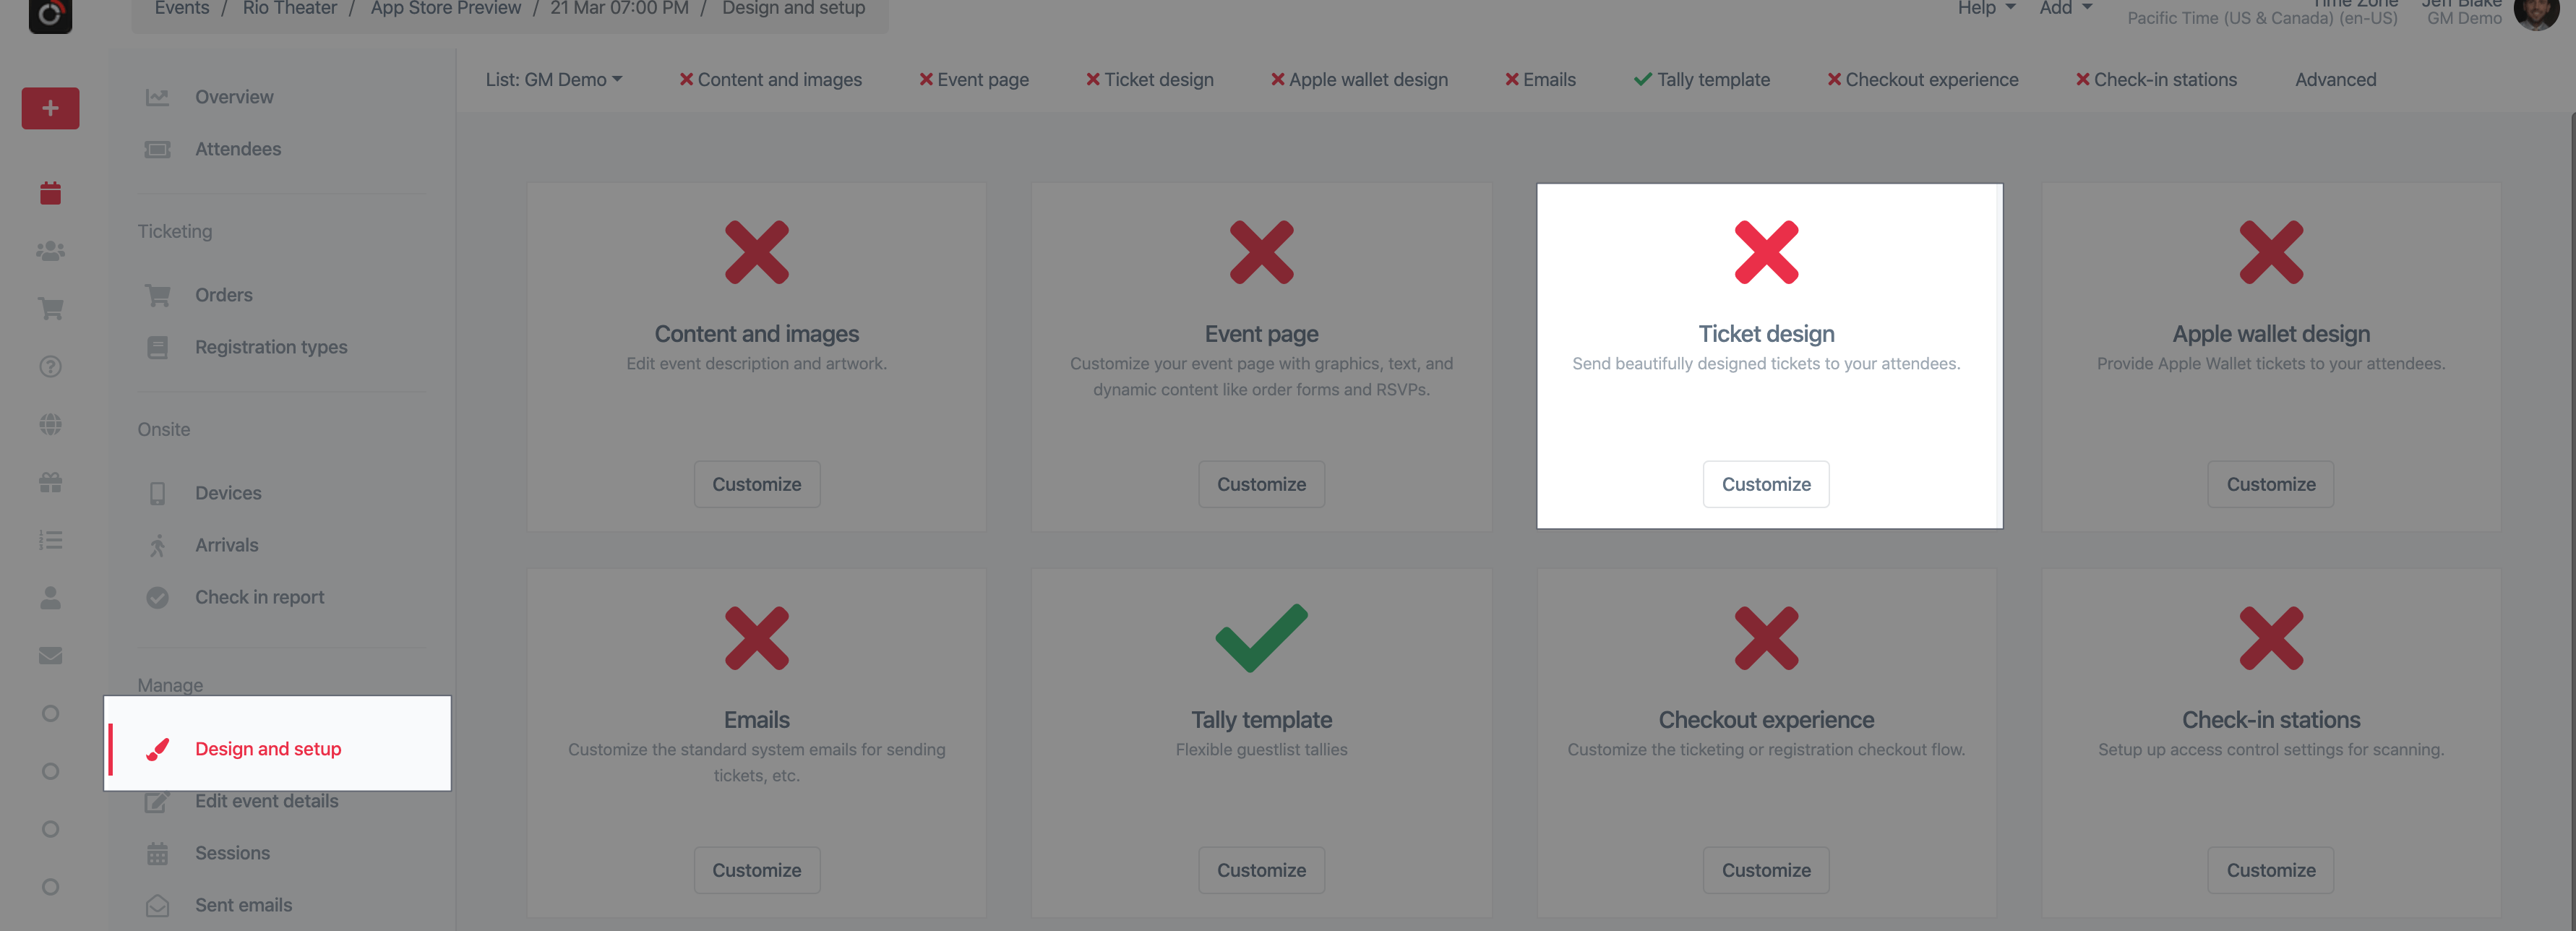
From the event, navigate to Design and setup > Ticket design. Follow the steps onscreen to create the design.
Advanced
Assigning different designs for each ticket type
In most cases, you use the same design for all ticket types by following the instructions above. If you need to have a different design for each ticket type, read on!
Which design is used for a ticket?
A ticket type can have a design, an event can have a design, and a ticket type to an event can have a design. The order is determined by:
- Event specific ticket type is the highest priority. If set, this design is used
- Event specific design is 2nd priority
- Ticket type design is last priority
Event specific ticket type design
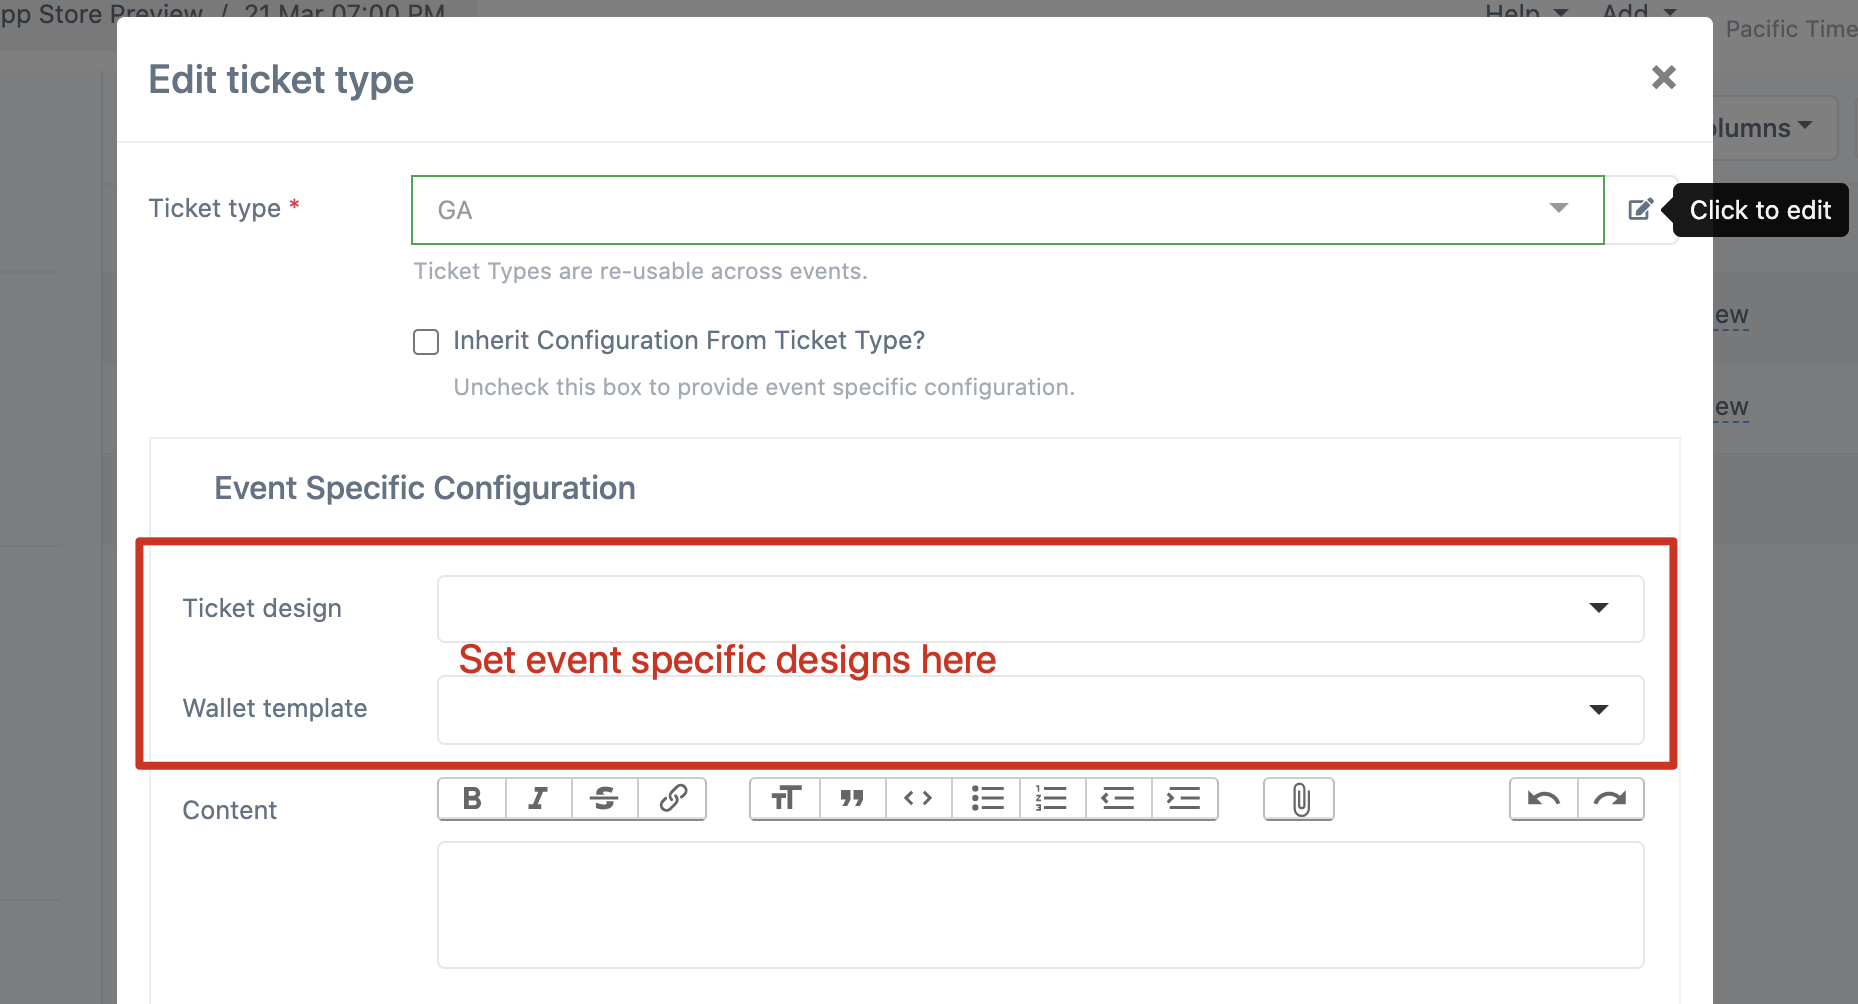
Once the design has been created, it needs to be linked to your events’ ticket types. Navigate to your event from Events > Upcoming, and click Manage for the event.
- Click Ticket Types from the sidebar on the left.
- Click Edit
- Uncheck Inherit Configuration from ticket type
- Select your design (create it first if necessary from Settings > All settings > Ticket designs)
Ticket type specific design
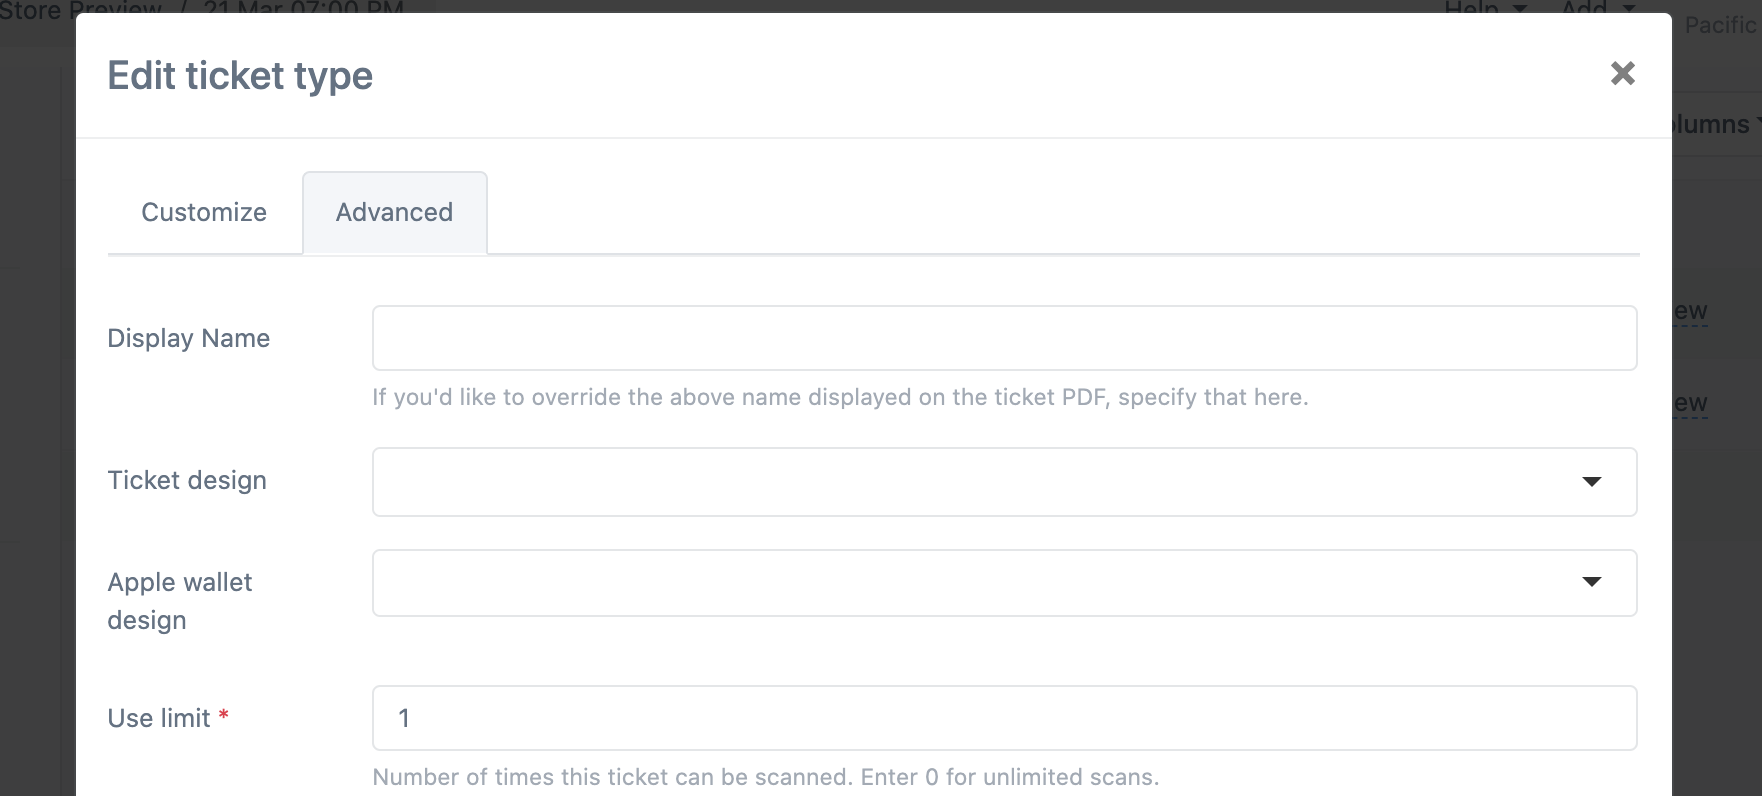
- Navigate to Settings > All settings > Ticket types
- Click Edit
- In the Advanced tab, select your Ticket design and Apple wallet template
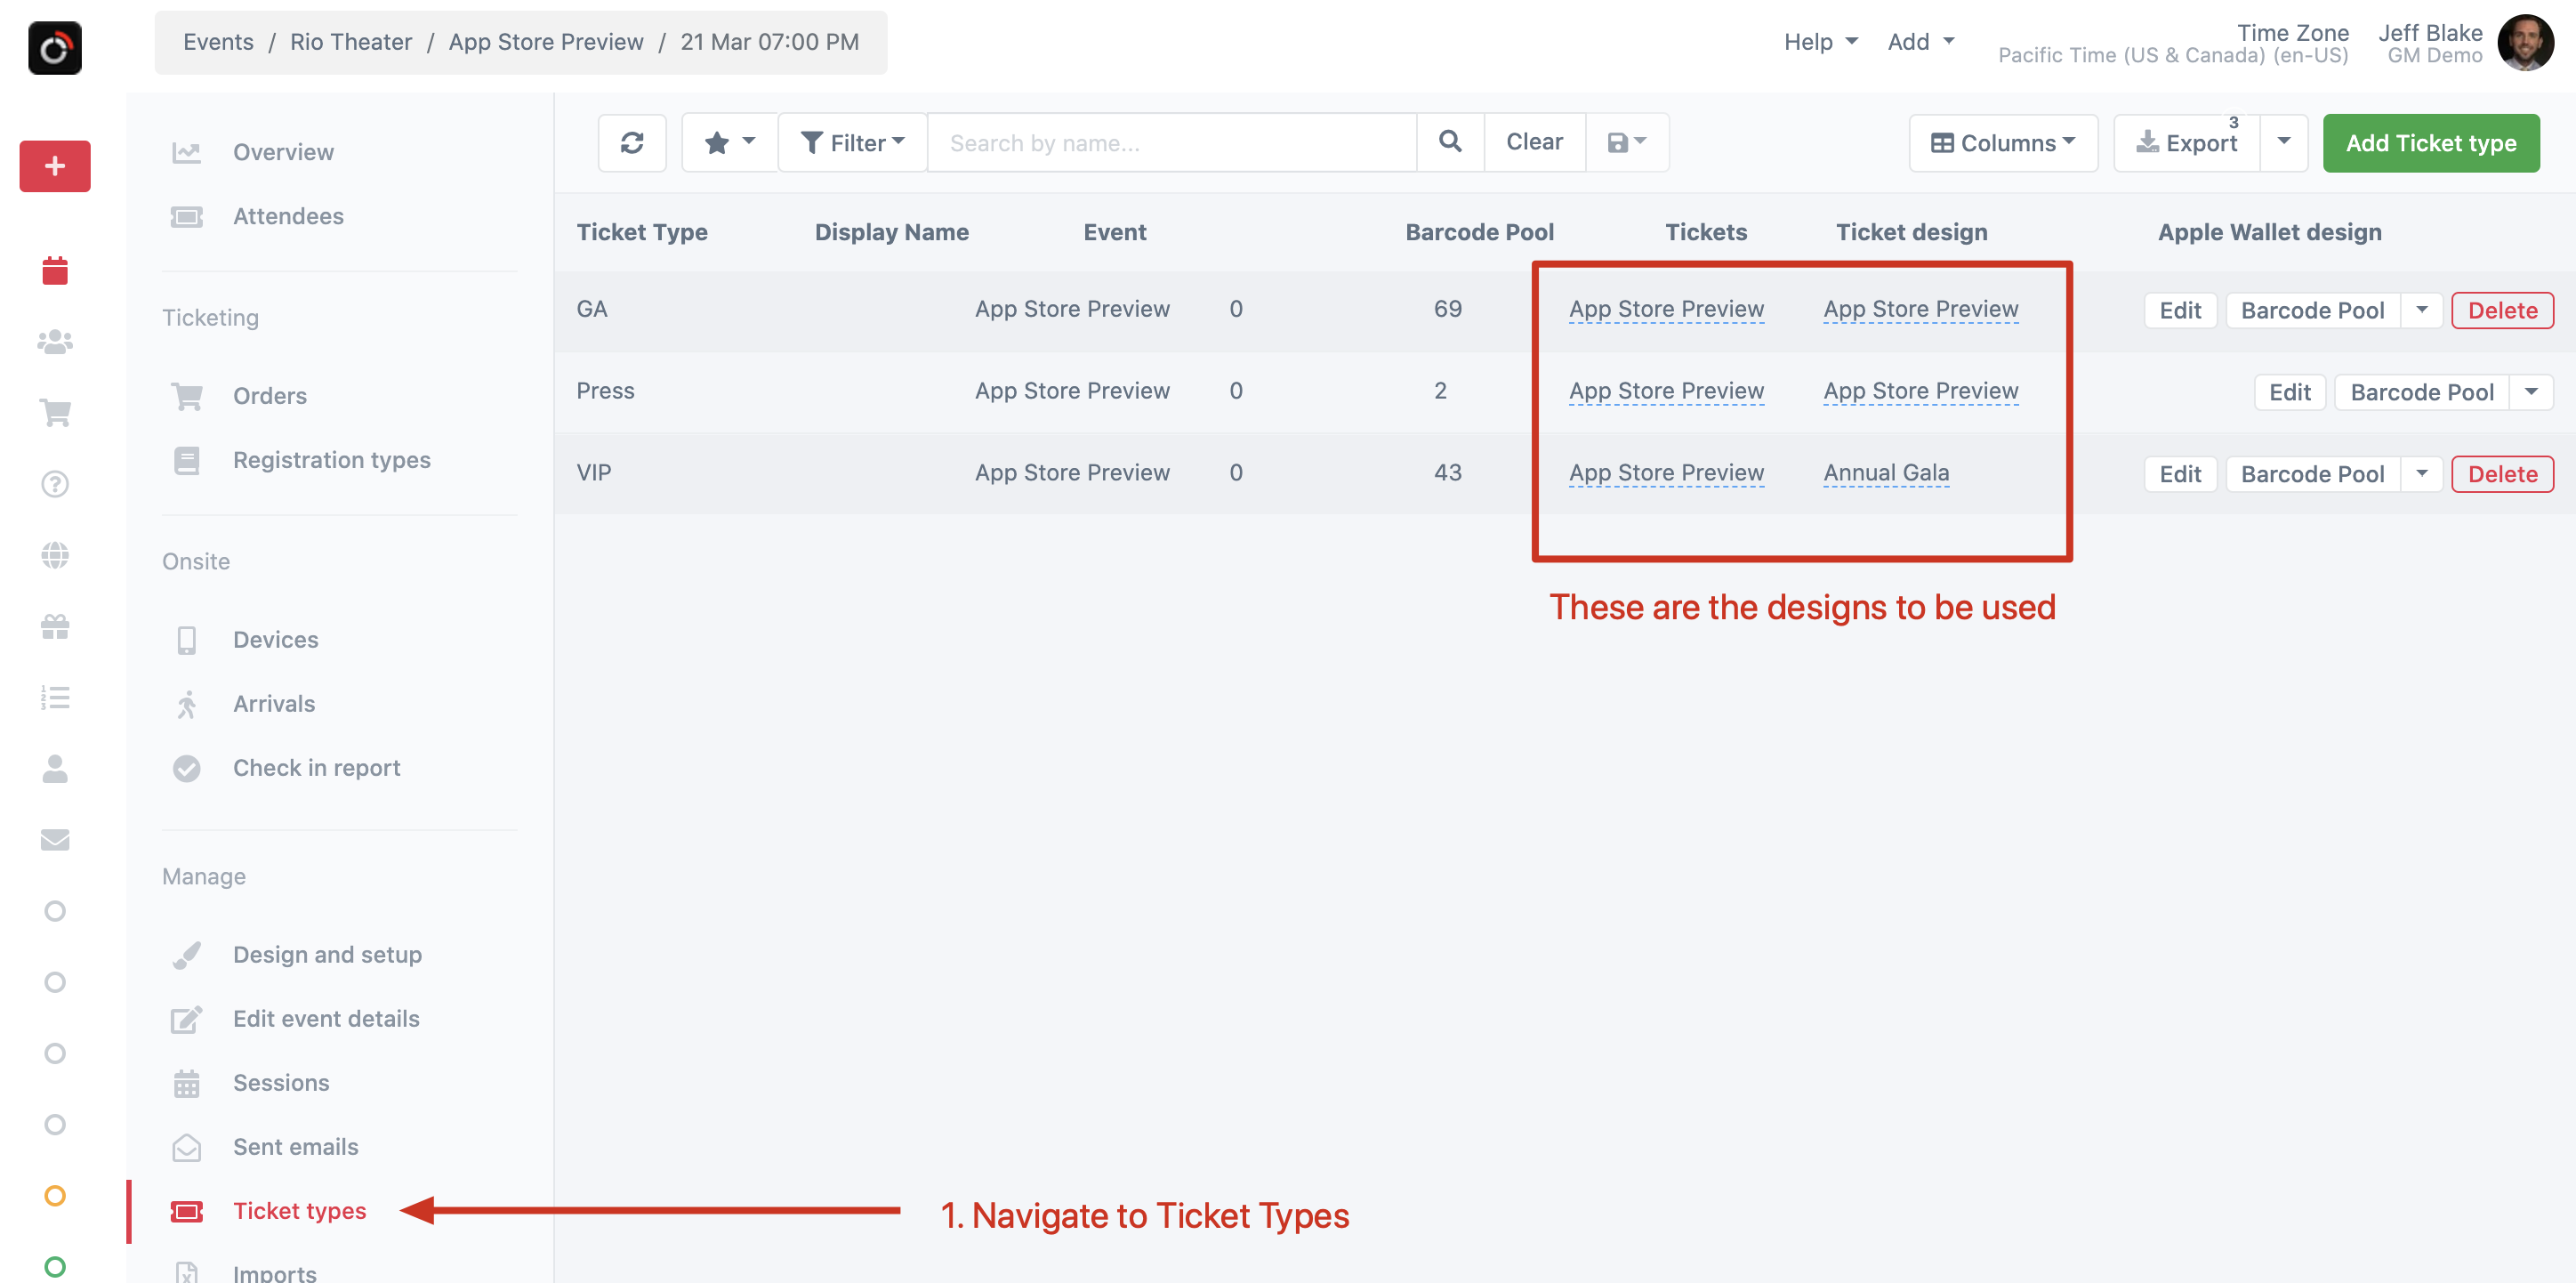
Confirming which design a ticket type uses
In the event, navigate to Ticket Types from the sidebar.
Previewing your design
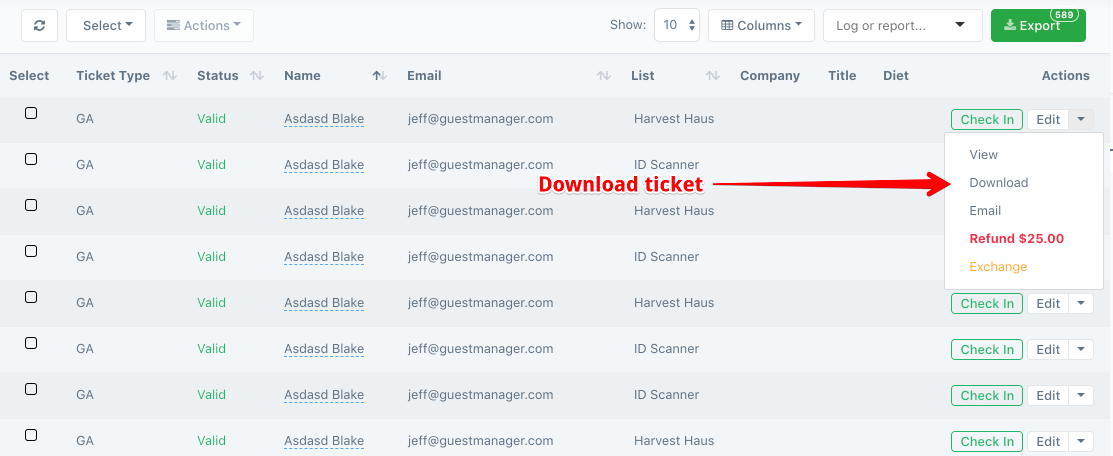
Navigate to Tickets, create a ticket if necessary, and then click Download in the dropdown next to the ticket.