If you need to collect additional information from attendees, such as dietary restrictions, T-shirt size, etc, or to fill out a waiver form, then this article is for you!
Choose how to collect
There are two ways to collect info about an attendee, custom fields, and forms. Please read about the differences to choose once that fits your needs best.
The app also has a couple built-in fields you can enable: Name, Email, and Photo. Use these instead of creating, for example, a custom field called Name!
Custom fields
Custom fields are simple text answers. The main benefit is these fields are highly visible, e.g. when the ticket is scanned, the answers are shown on the screen.
Pros
- Highly visible on check in app
- Simple text answers
- Can be required or optional
Forms (questions, surveys)
Forms can be simple text fields, multiple choice, long answer, check boxes, etc. These are more like your traditional survey software. If you want to create a waiver form, or survey, a form is probably the way to go.

Pros
- Flexible answer types, including multiple choice, single line, multi-line, check box, etc
- More customizability: field placeholders, help descriptions, field sets, etc
Set it up
Once you have chosen how you want to collect your answers, jump to the relevant section below.
Custom fields
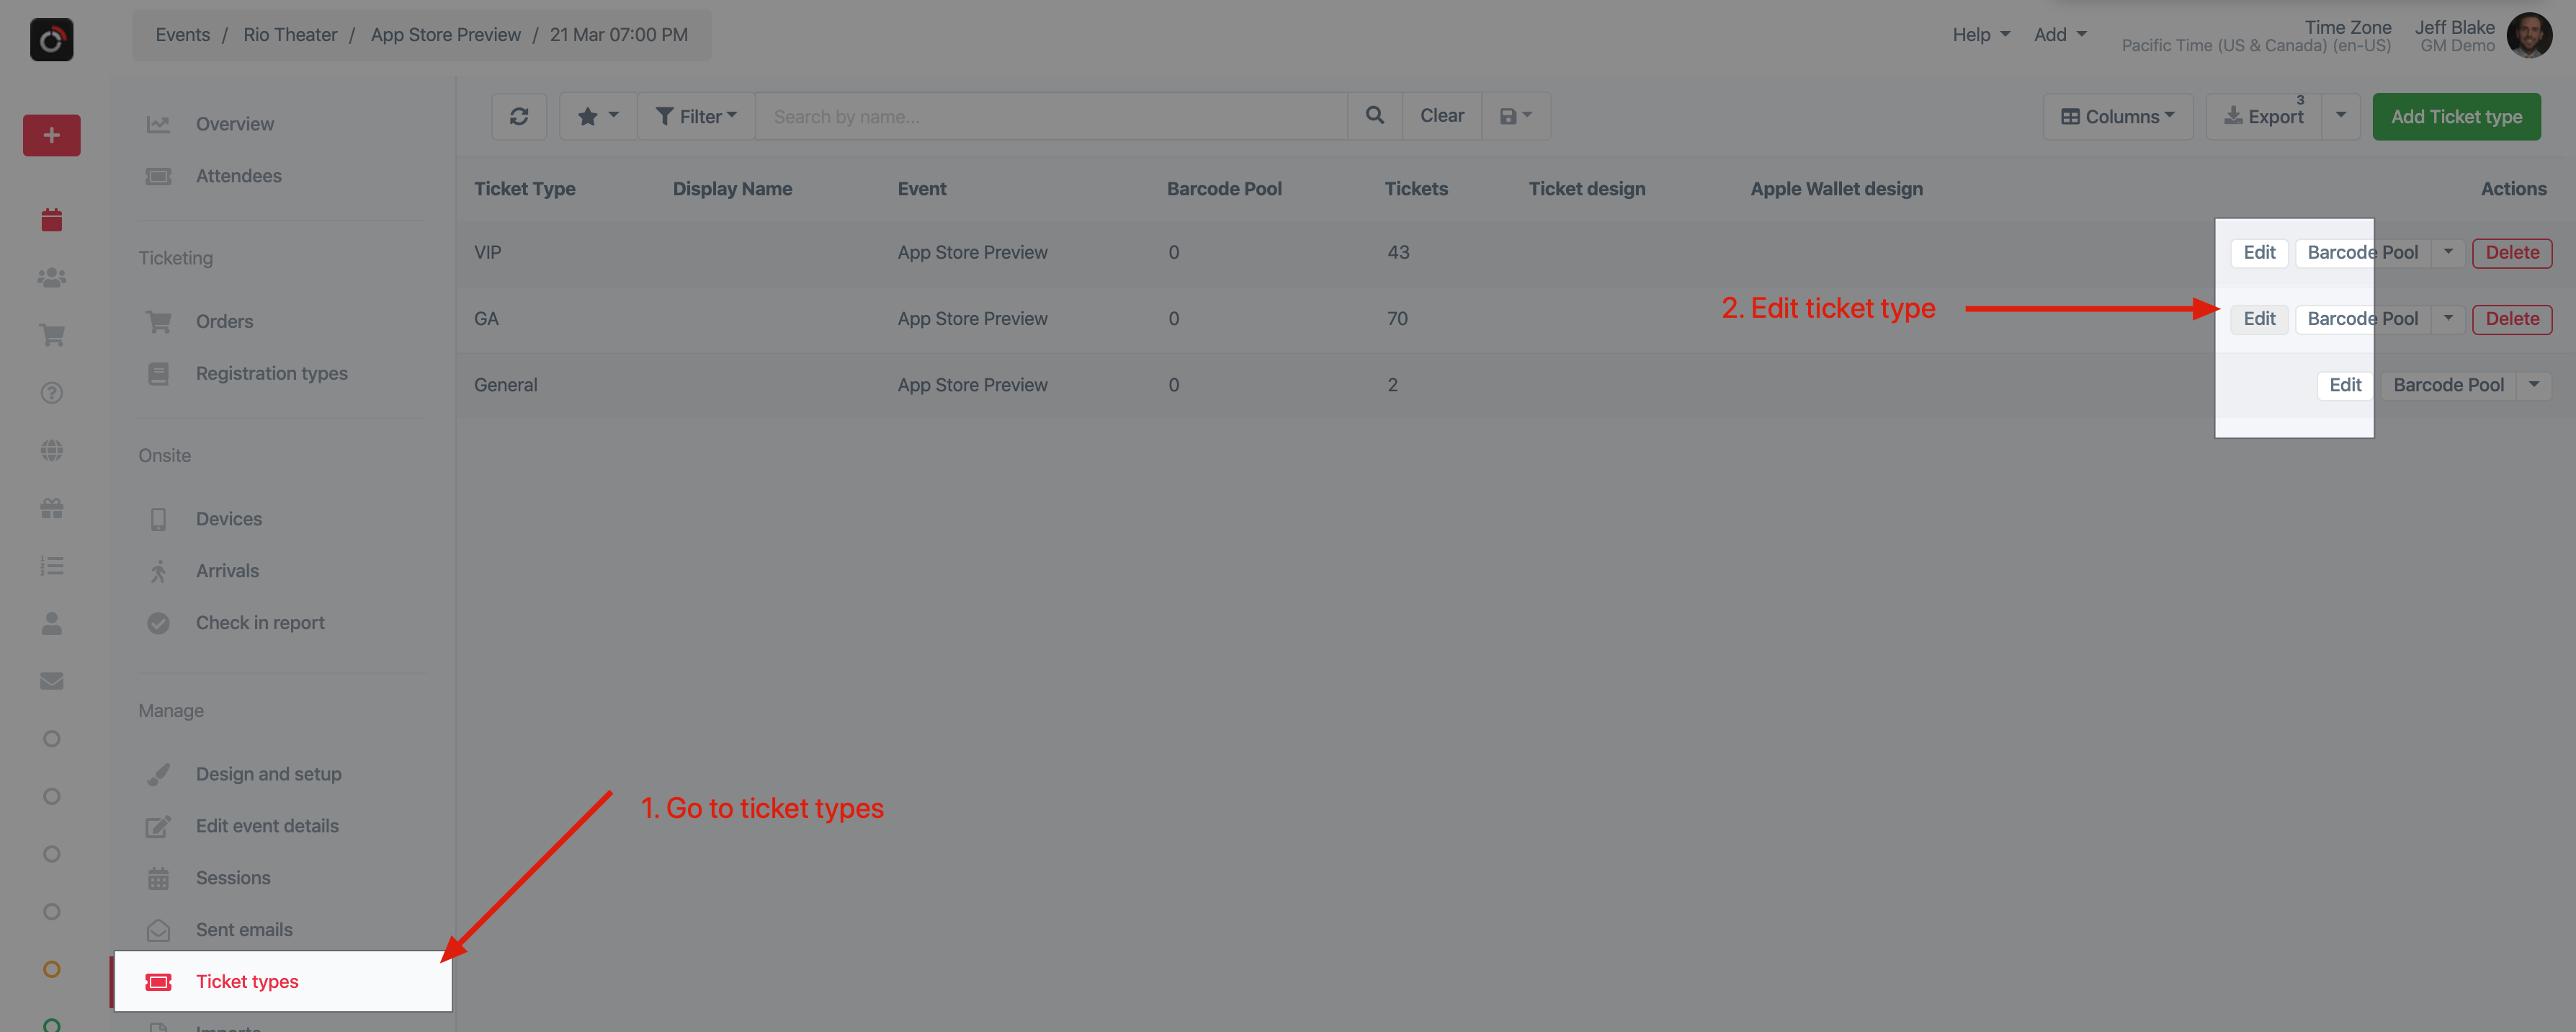
Custom fields are set up for each Ticket Type. Navigate to Ticket types in the app and click Edit on the ticket type you’d like to add fields for.
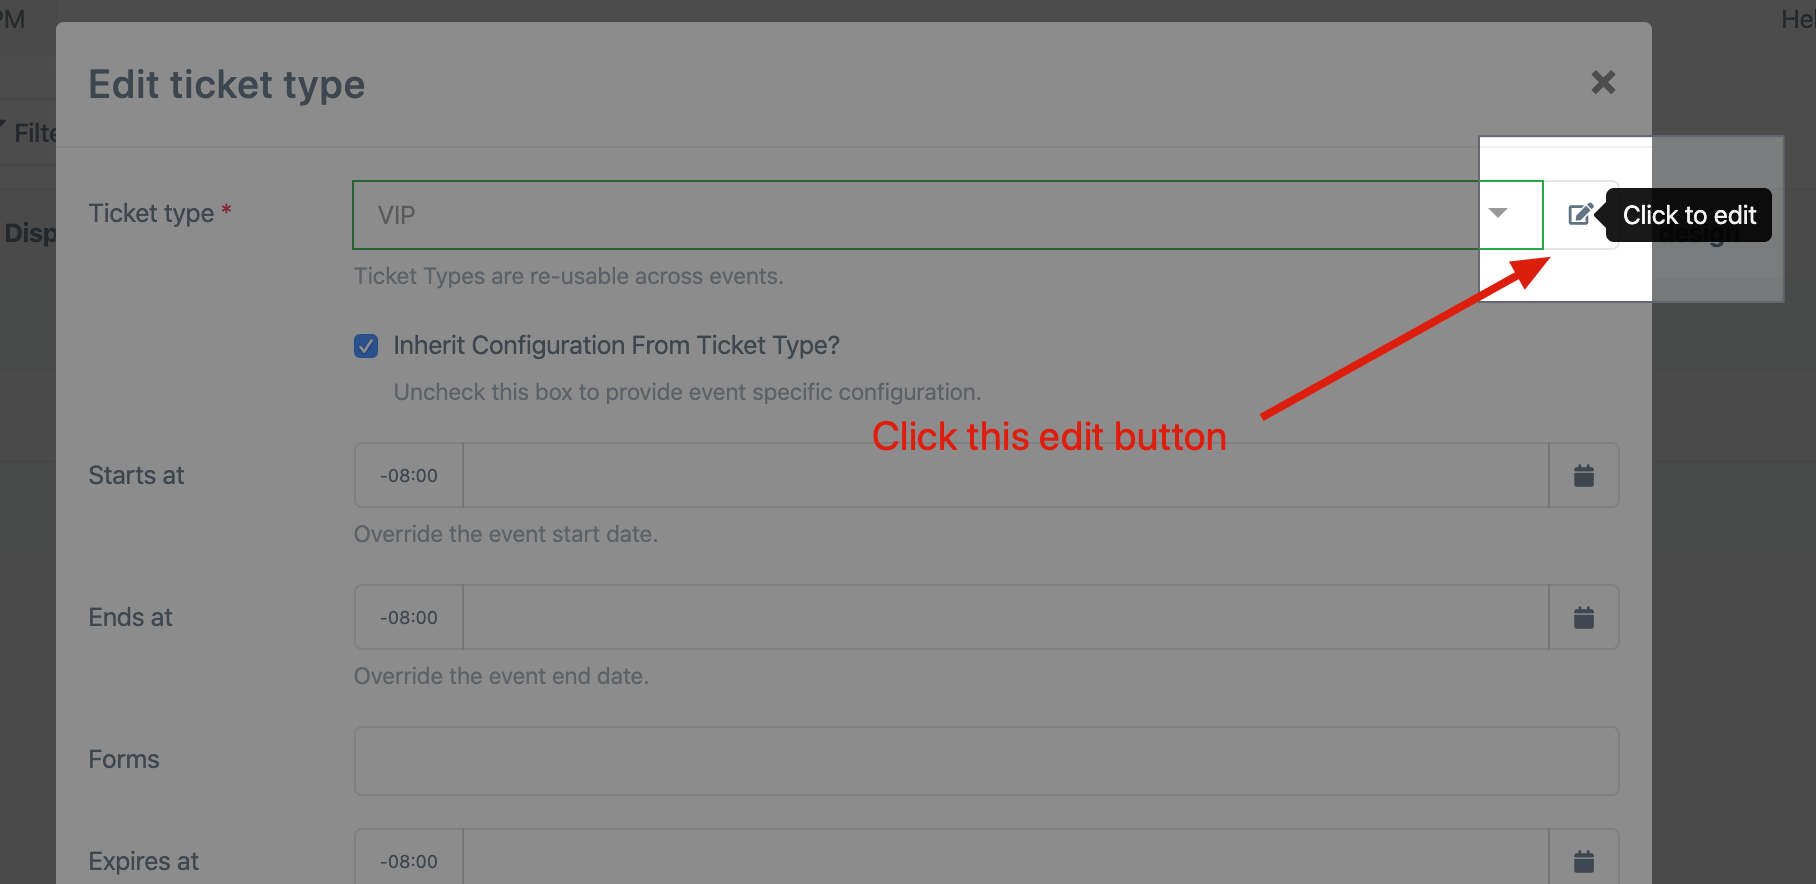
From the popup, click Edit next to ticket type.
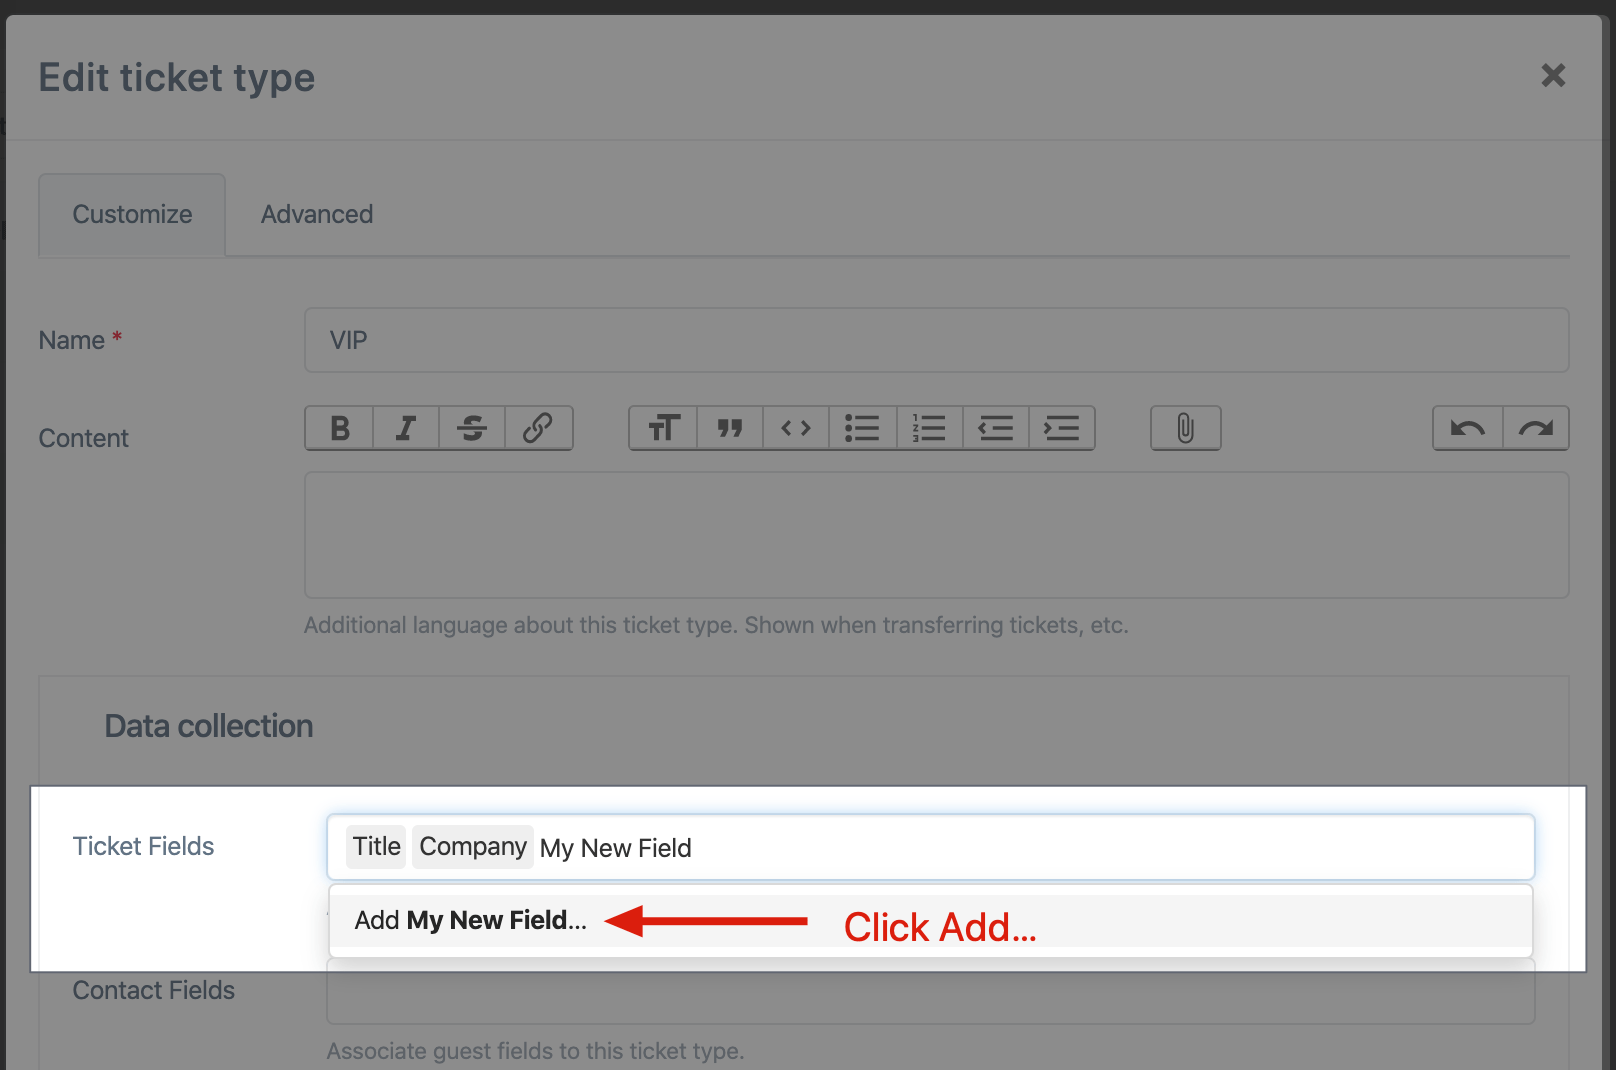
Under the Ticket Fields field, type in the name of the field you’d like to add, e.g. “Dietary restrictions” and click the Add [field name]… option from the dropdown to create the field.
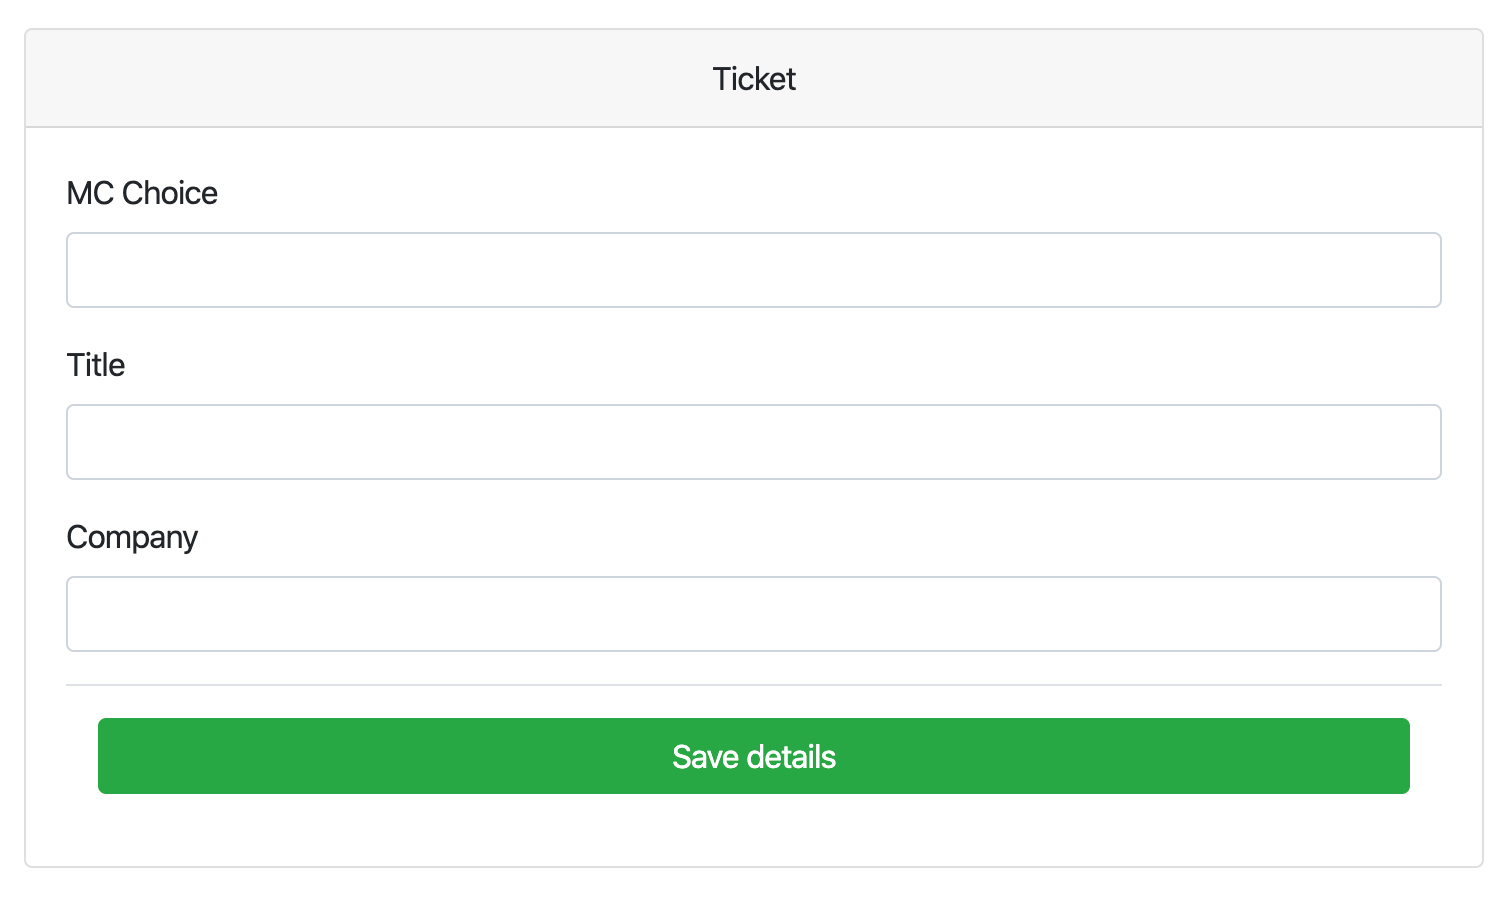
Save the ticket type. Now you can test it.
Making it required
Okay, this is a little annoying to configure, but at least it’s possible. Go to Settings > All settings from the main sidebar on the left. Then click on “Ticket Fields”. Locate your field, click edit, look for the ‘required’ check box, enable it, and save.
System fields
The app has built-in fields for Name, Email, and Photo. In the Data collection box of editing the ticket type, look for the grid of checkboxes:
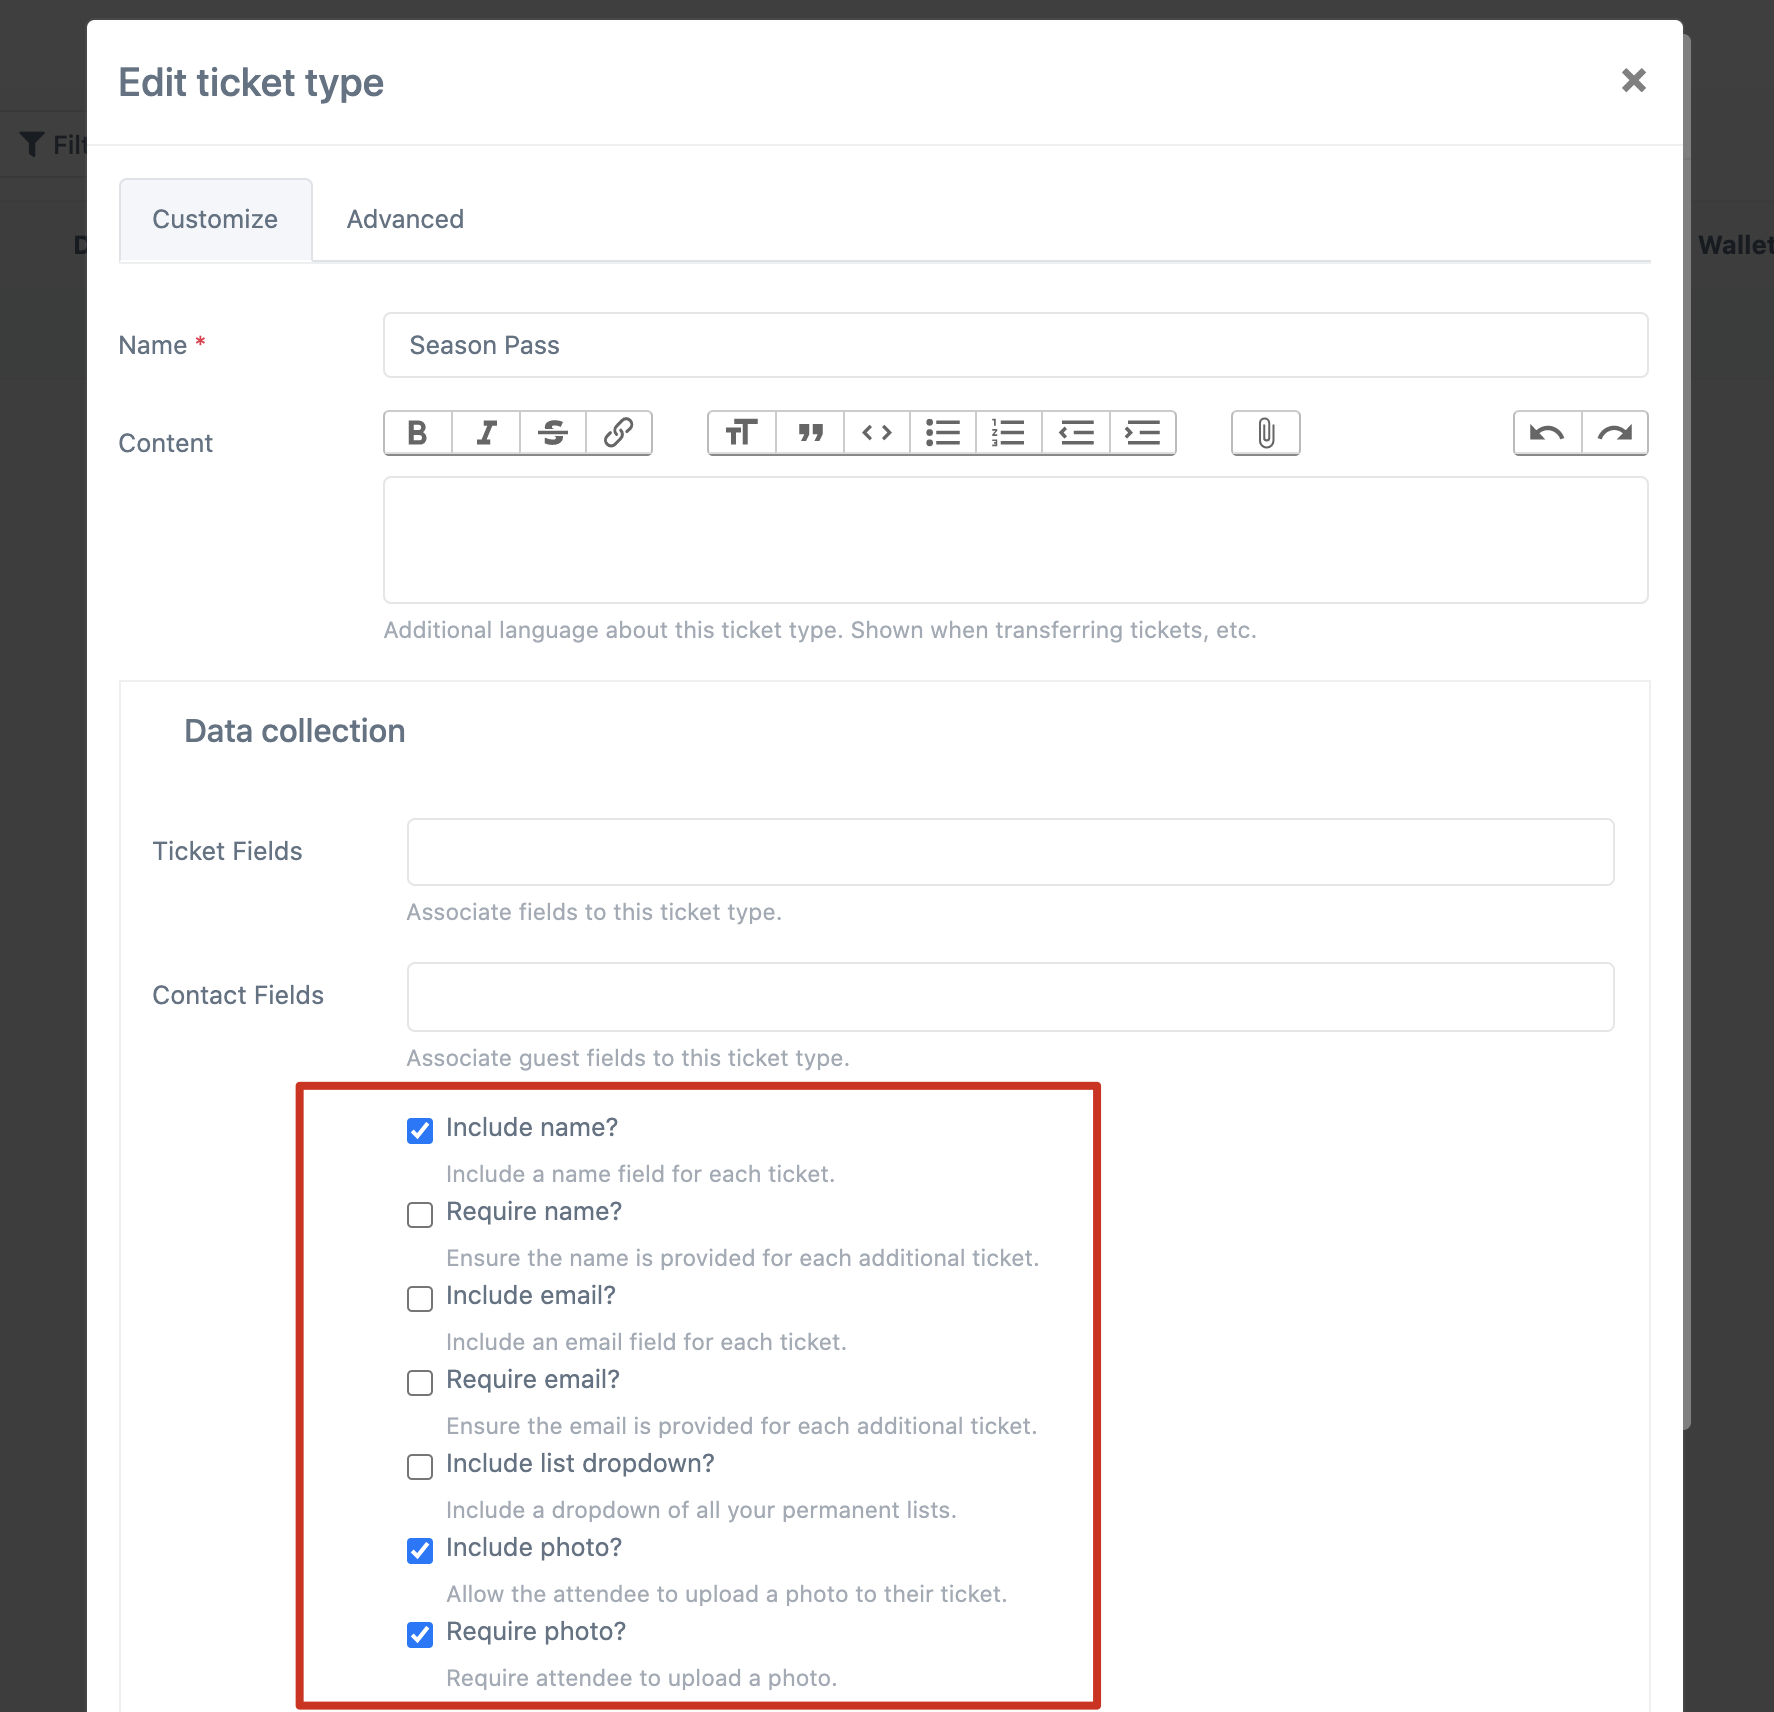
Check the fields you want and click save!
Forms
Create the form
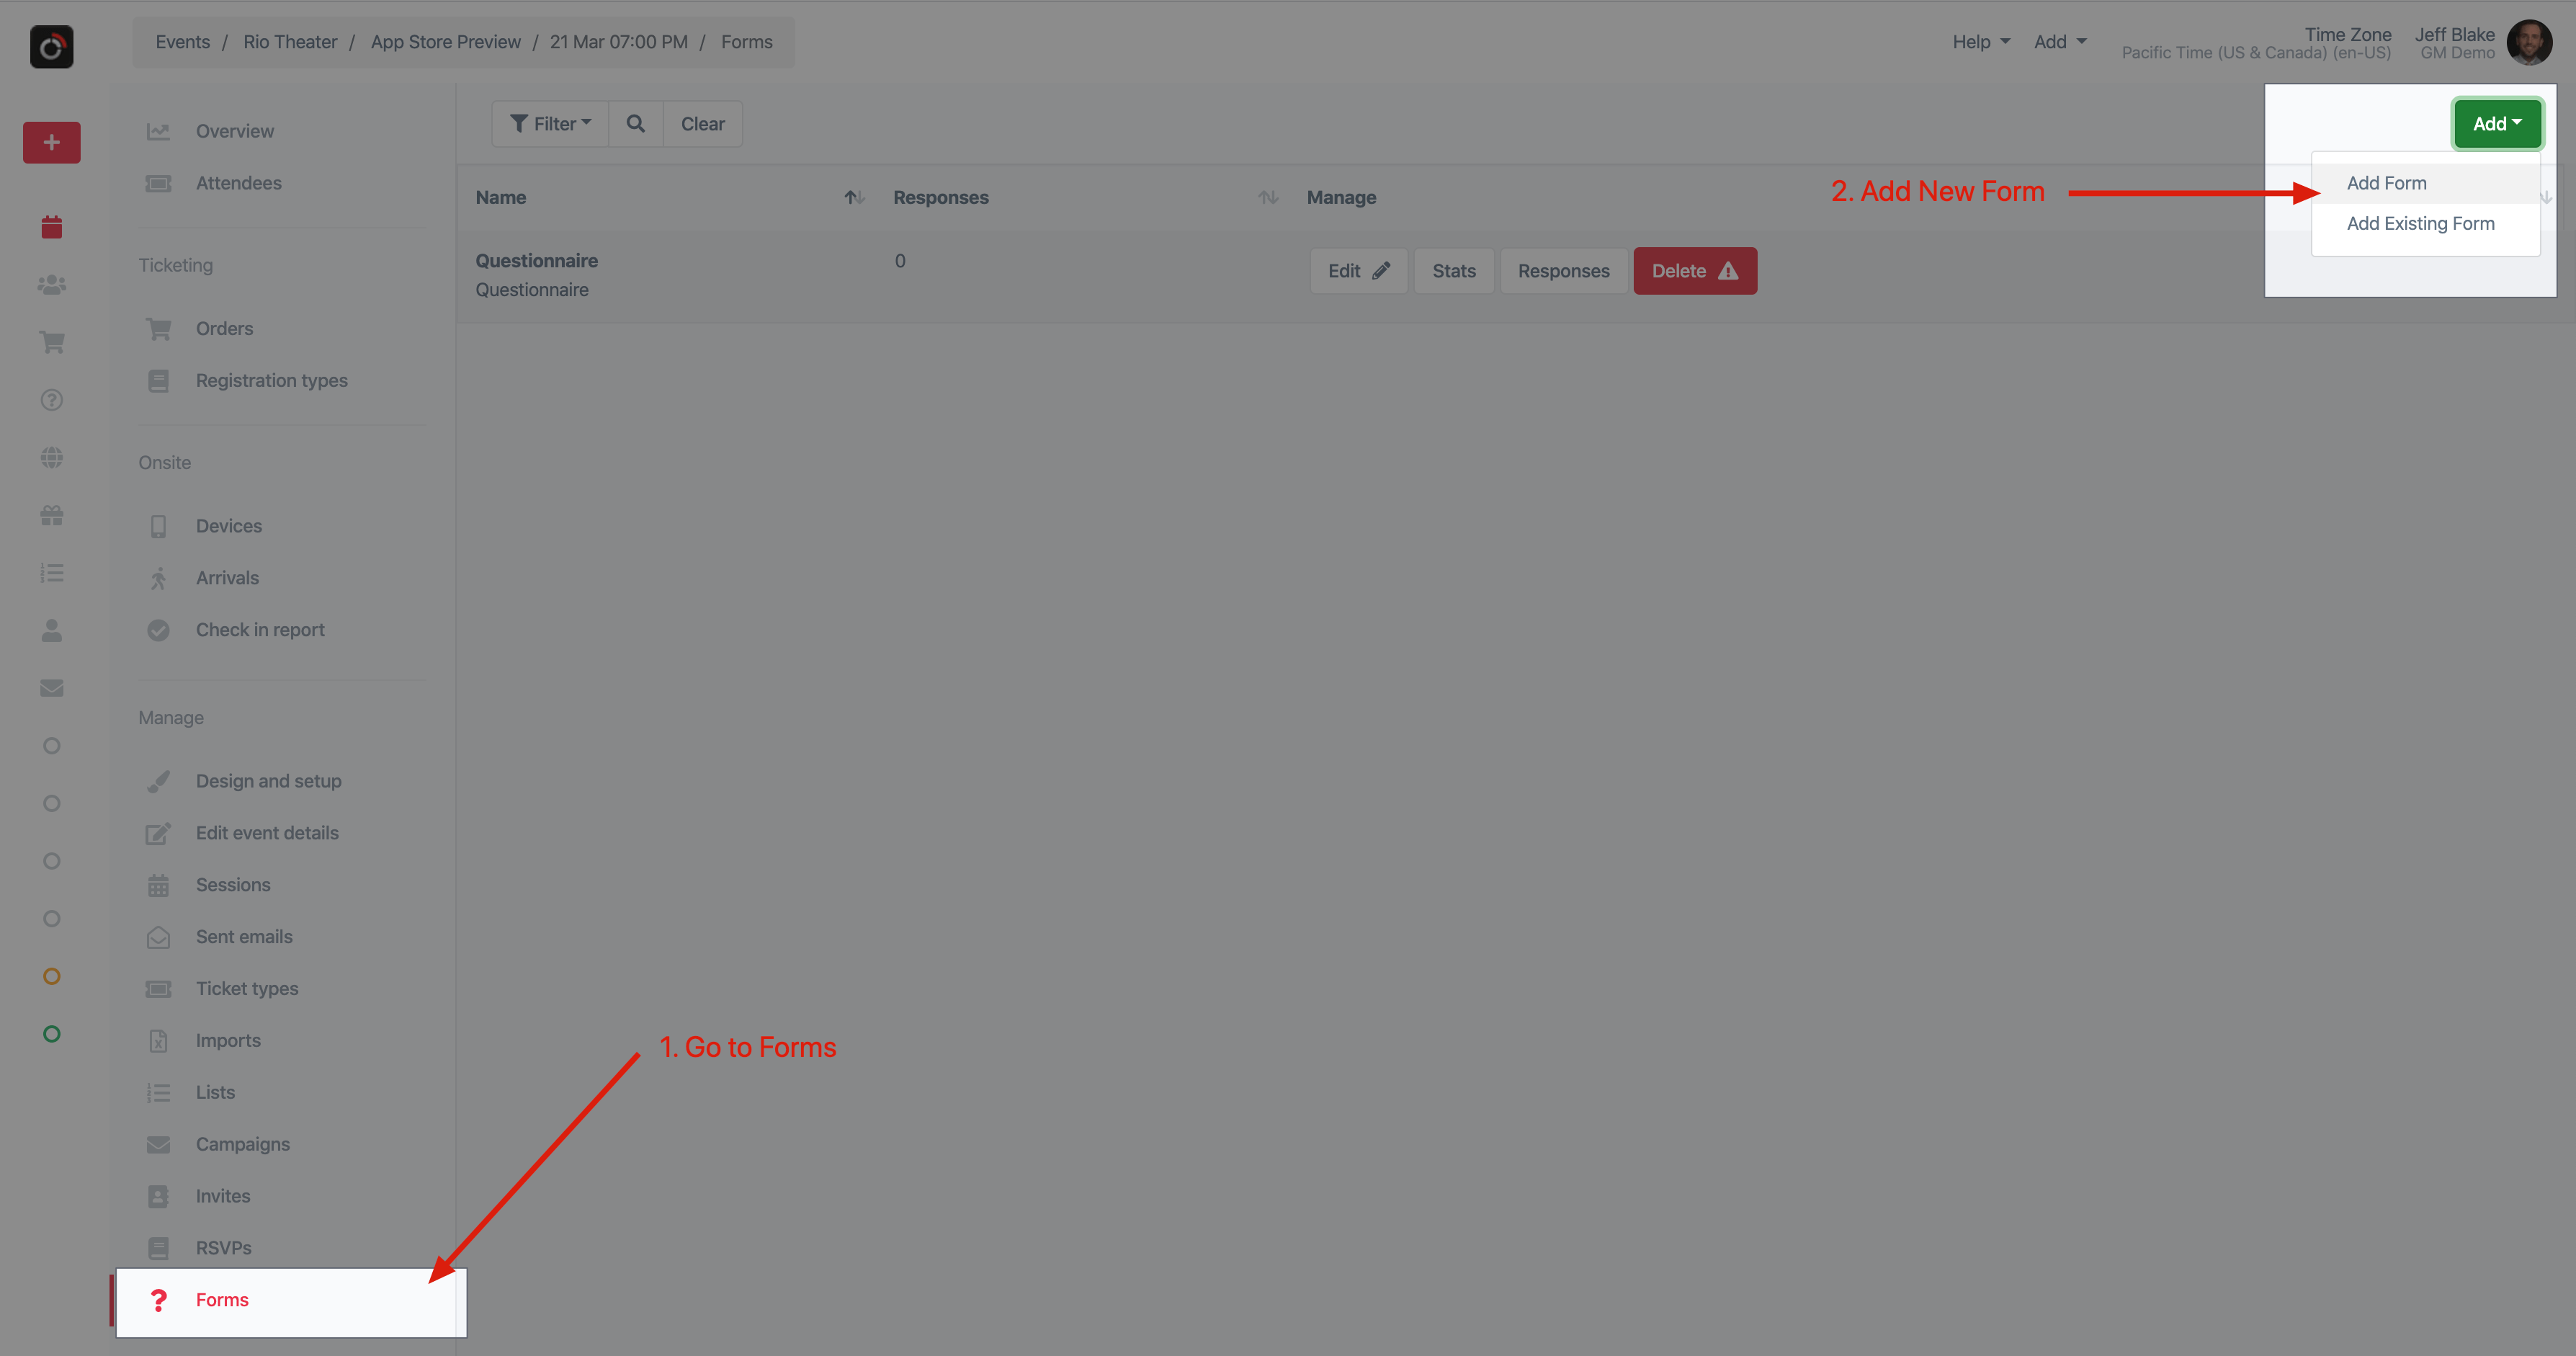
In the event, go to Forms and click Add from the upper right.
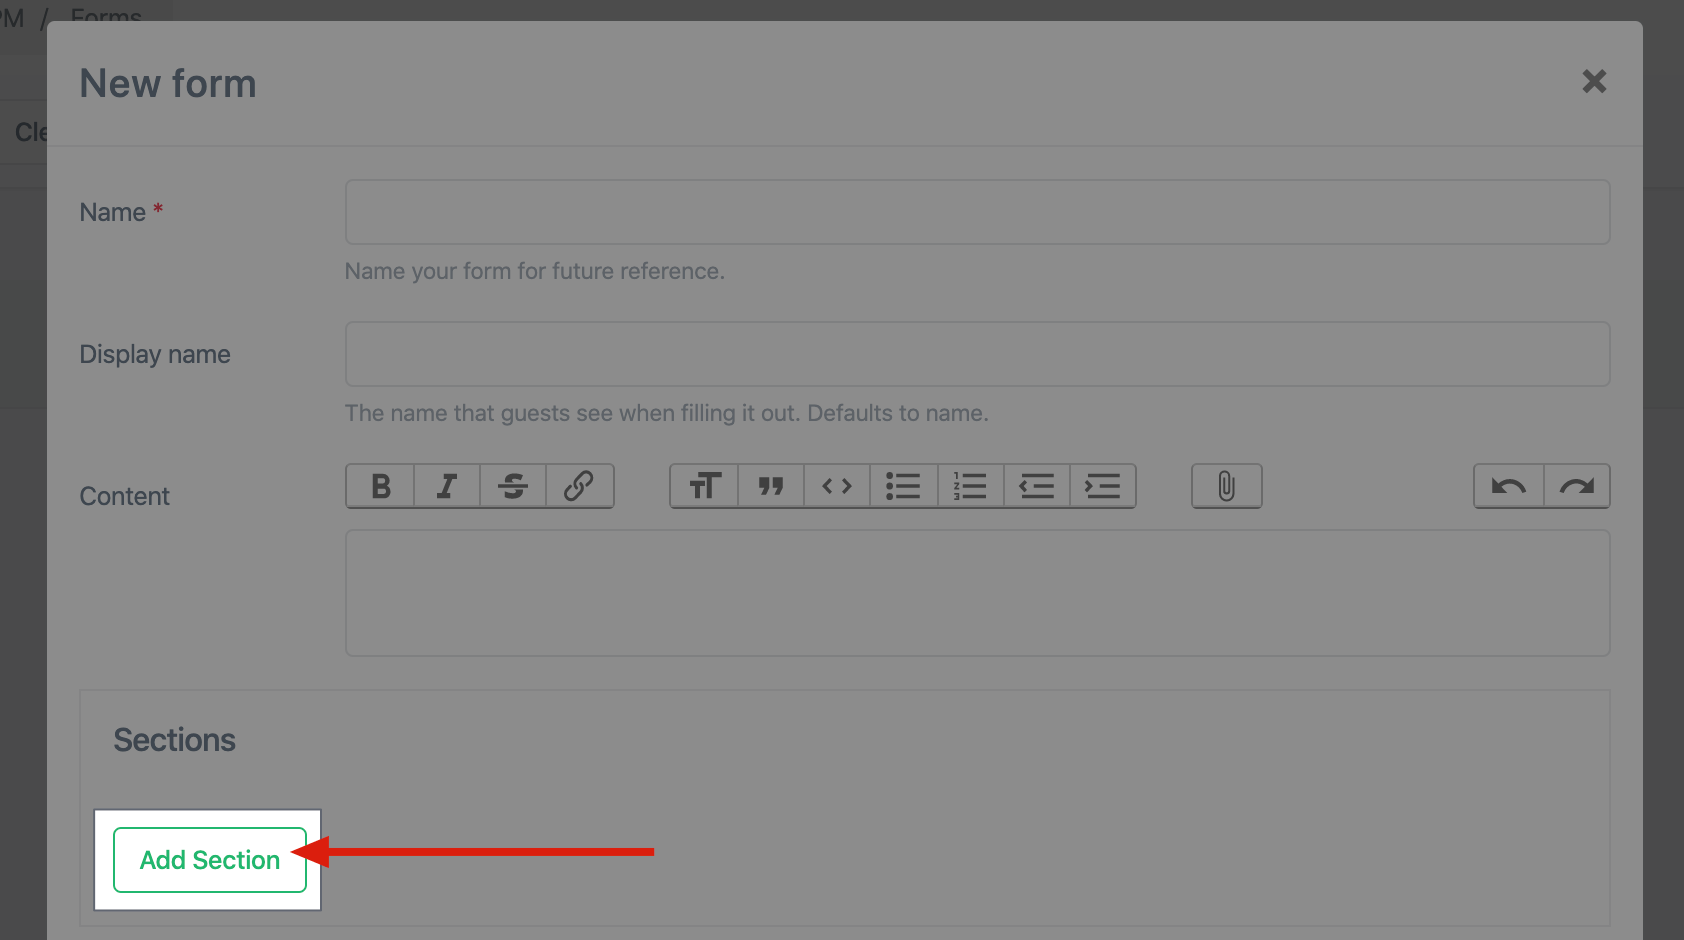
Name the form. Optionally add some content in the editor. This could be instructions or disclaimers.
Forms are composed of Sections, add a section.
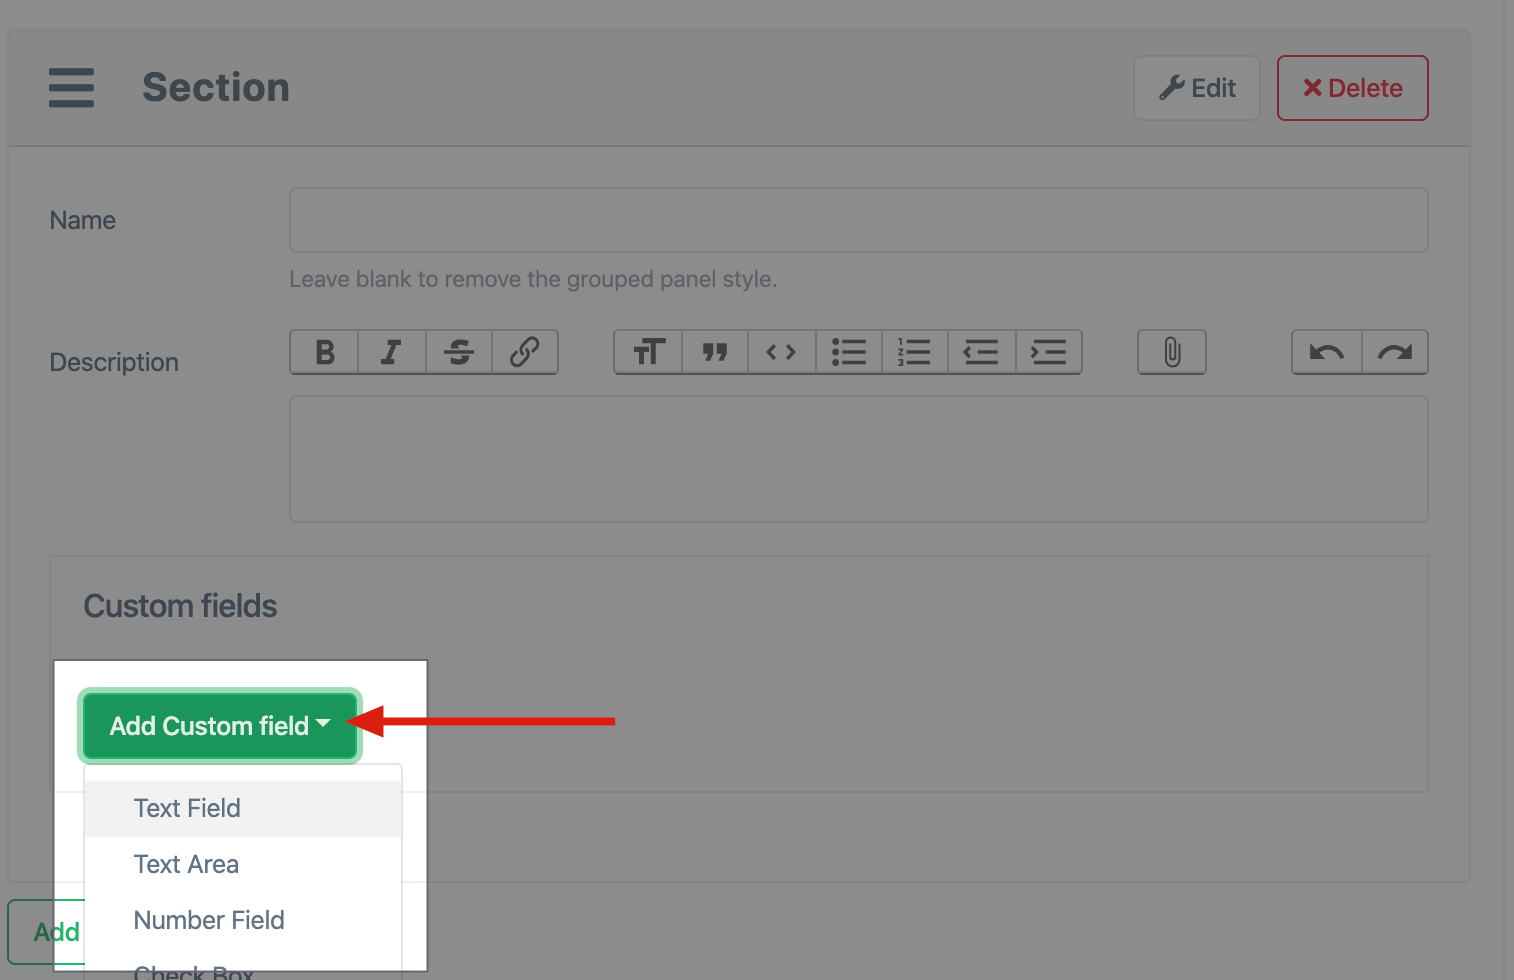
Now add some fields. When you are done, save the form.
Associate the form to the ticket type
The final step is to assign this form we created to the ticket type(s).
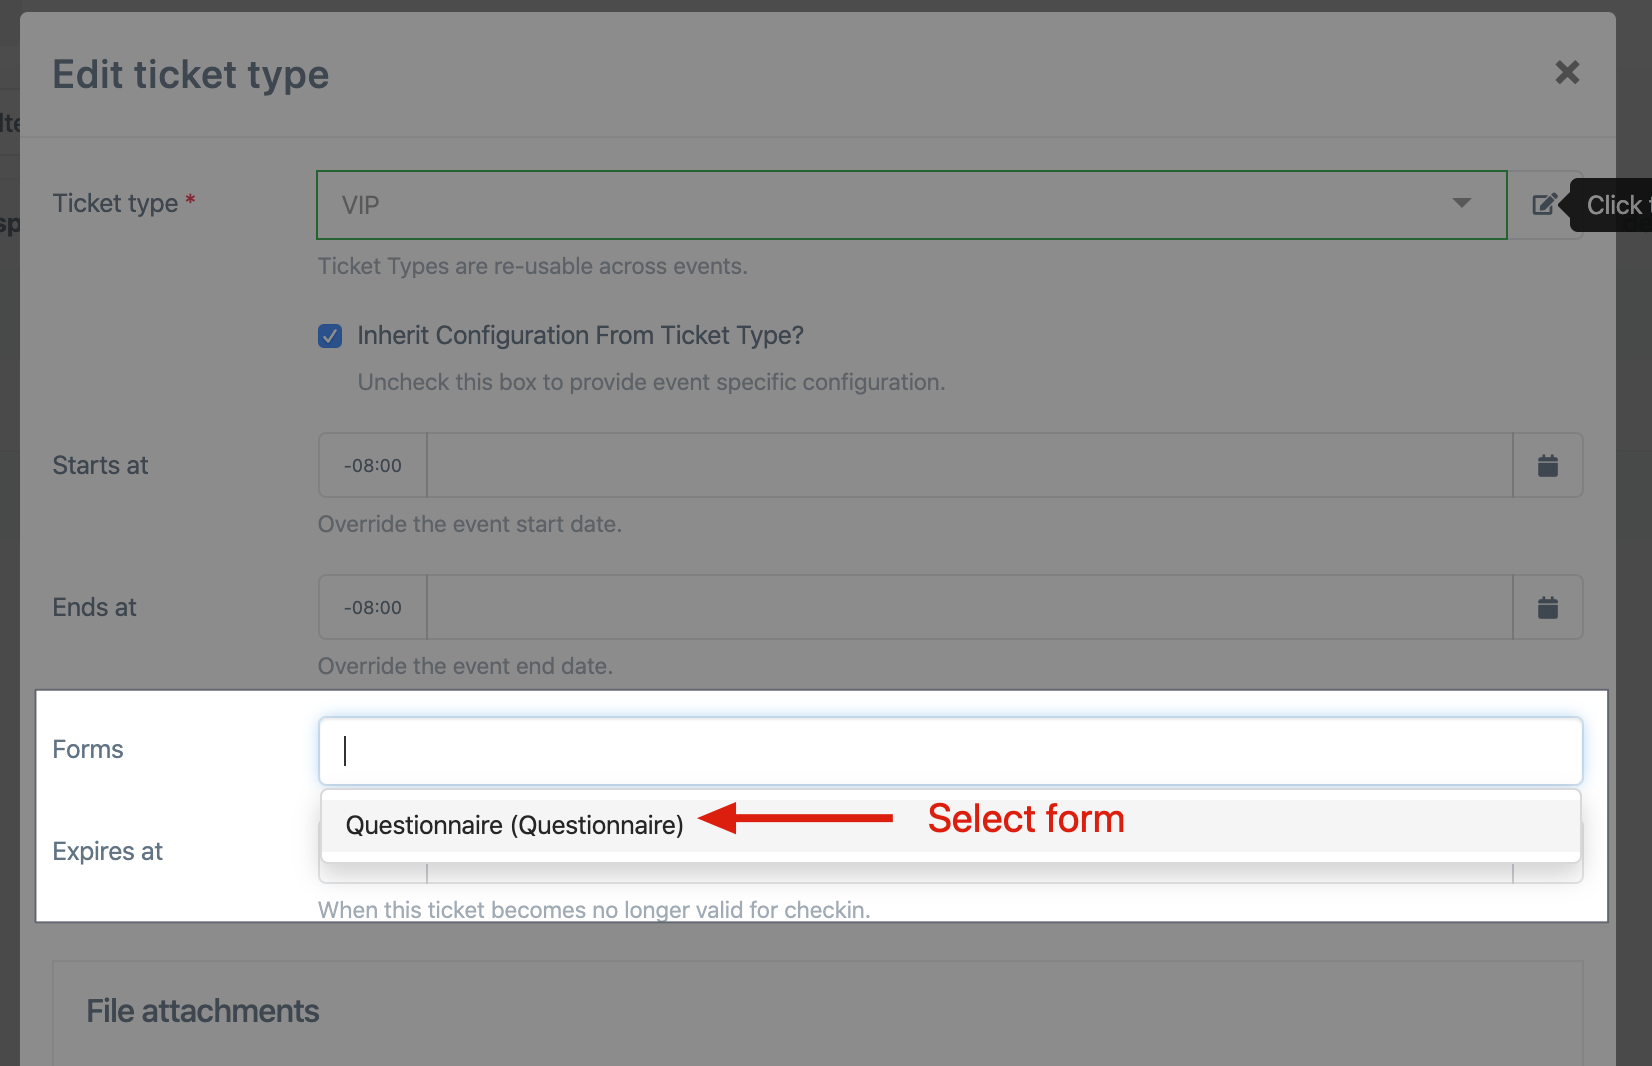
Go to Ticket types, click Edit. In the popup, select the Forms field, and select the form you created in the previous step. Save and close. You are ready to test.
Assign the form and save the ticket type:
FAQ
Can I prevent ticket download until the required fields are completed?
Yes. Simple check the relevant required checkbox for the field (whether it’s a system field such as name, email, photo, custom fields, or form fields) and the system will require those to be completed before the ticket download buttons are displayed.
