Saved searches are handy for quickly displaying customized results without needing to configure Filters every time.
Creating a saved search
Saved searches work on many different pages, for example, events, attendees, contacts, etc. Go to one of those pages, and apply your search like you normally would using the search bar and Filter menu.
-
Click the Save icon to the right of the search bar.

- Name your search. This is what will be shown later when you want to see these results. Tip: describe what your filters do, e.g. if you have an event filter for Venue = Wellington, you could name your saved search “Wellington Classes”.
- Tip: If you’d like this saved search to be the default every time you visit this page, check the “Make default view” check box.
-
Upon saving the search, the star icon will be updated to display the currently chosen saved view.
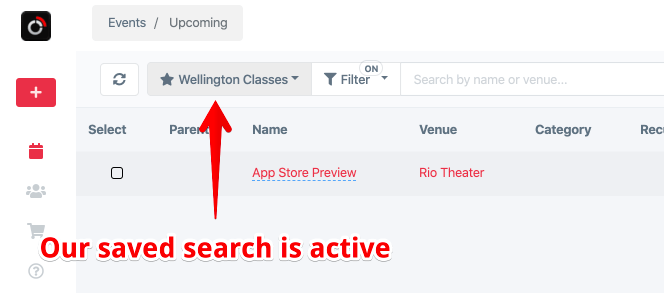
That’s it! You may now click on the Star / saved search name to see additional options:
Remove or delete a saved search
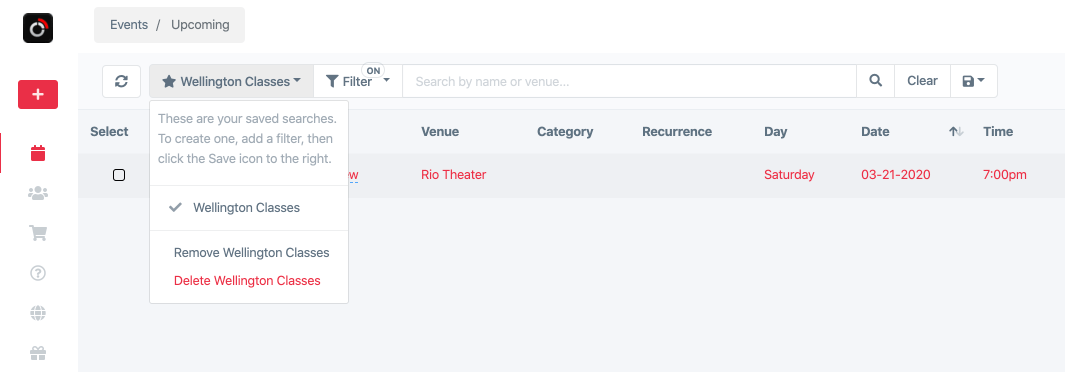
- Remove option: This will clear the current saved search, taking you back to the list of all records. This option keeps the saved search for future use
- Delete option: This will delete the saved search and reset back to the list of all records.
Saved searches are unique to your account / email log in, and will not be visible to other admins in the account. You may create as many saved searches as you’d like, but to keep it manageable I would recommend a dozen or so max.
